Set up the Ironclad MCP server
The Ironclad MCP server gives AI agents read-only access to Ironclad CLM — running Conversational Search over contracts, reading contract records, and reading workflows. This guide covers registering an Ironclad OAuth client and connecting the Ironclad MCP server to MintMCP.
Prerequisites
- A MintMCP admin account
- An Ironclad account on NA1 with the API add-on enabled
- An Ironclad admin to register the OAuth client
- Each user needs their own Ironclad login to complete OAuth consent
Register an Ironclad OAuth client
Ironclad does not support dynamic client registration, so an Ironclad admin must register an OAuth app once. This produces the client_id and client_secret you'll paste into MintMCP.
Reference: developer.ironcladapp.com/reference/register-oauth-client
-
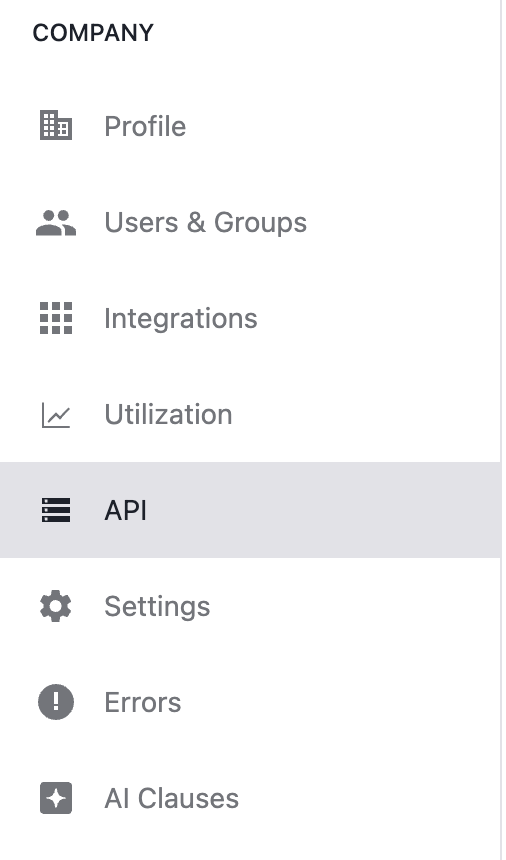
In Ironclad, click your profile in the top-right corner and select Company Settings.
-
Select the API tab in the left sidebar. If you don't see it, your instance doesn't have the API add-on enabled.
-
Click Create new app, enter a name (for example,
MintMCP), and click Create app.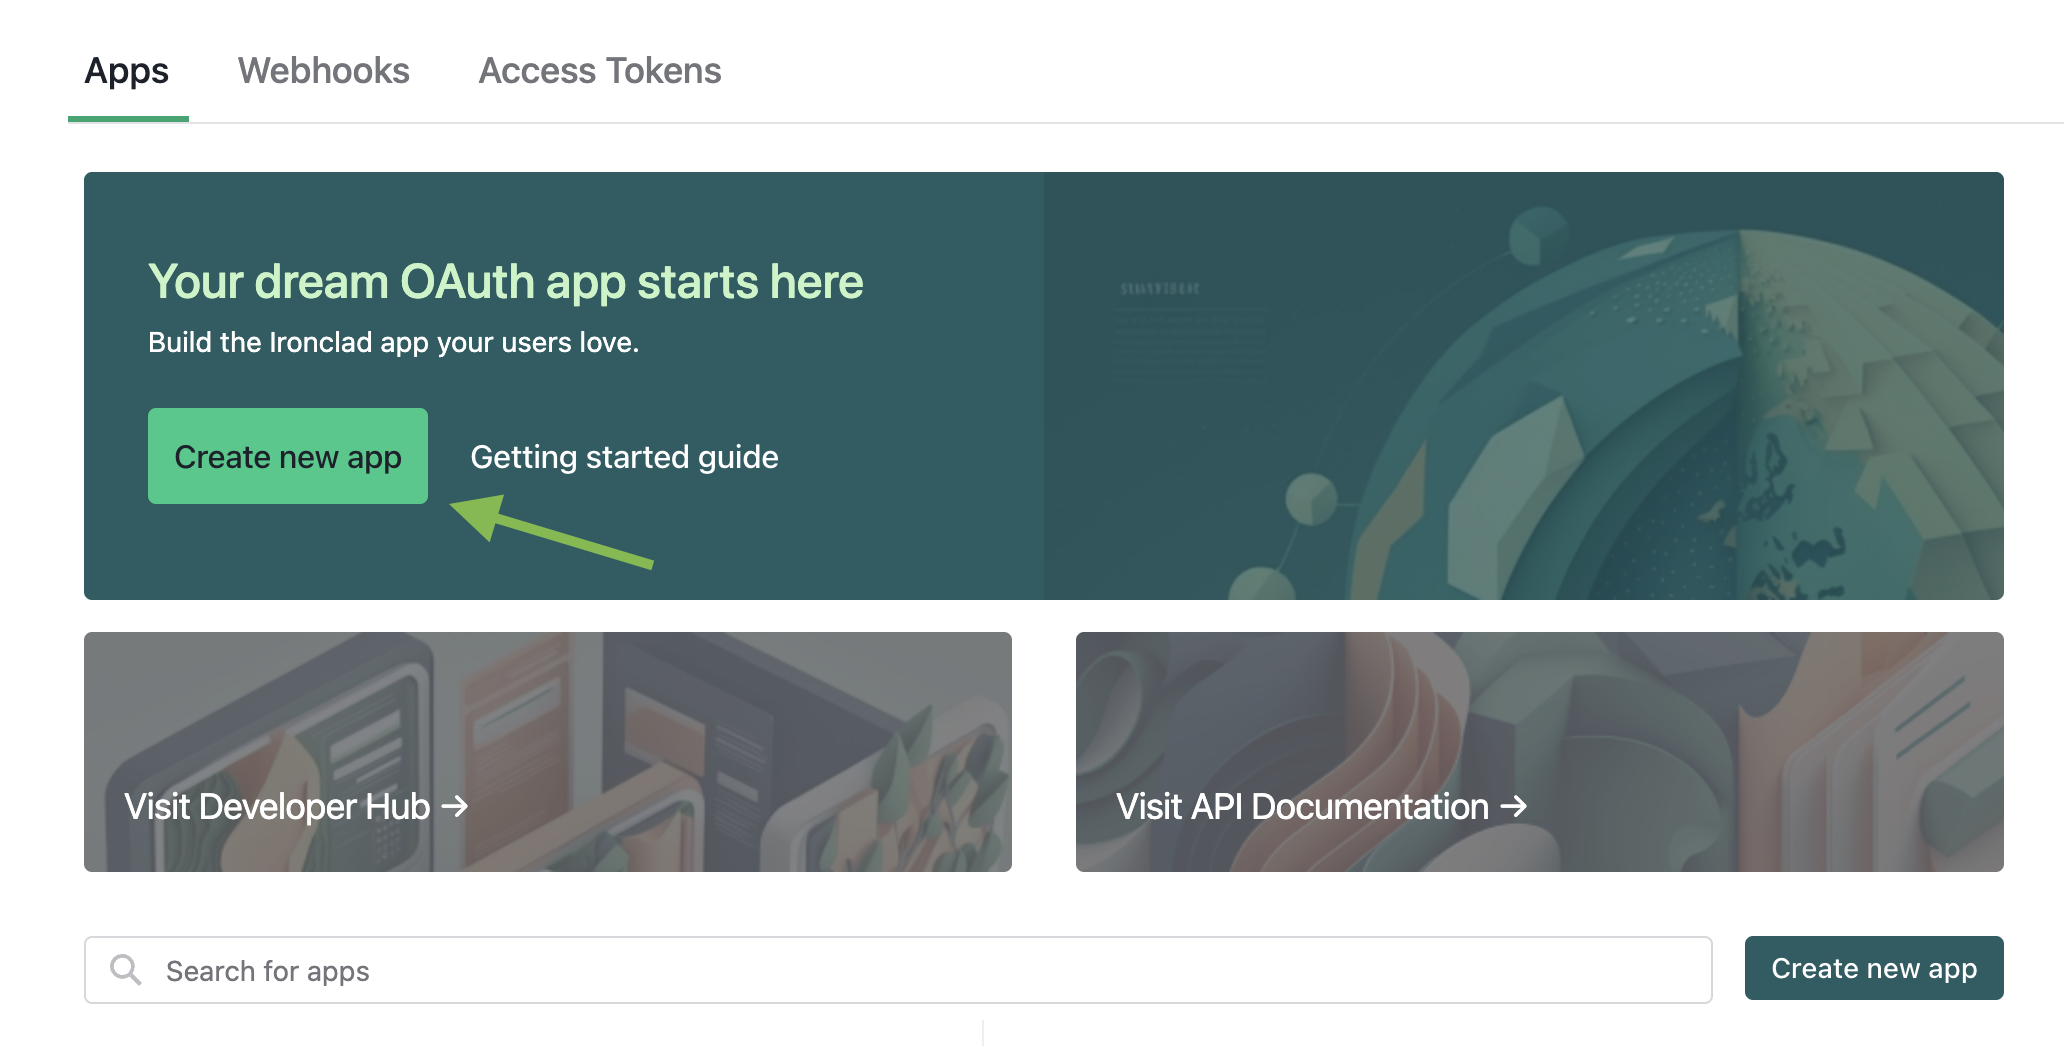
-
Copy the
client_idandclient_secretfrom the confirmation dialog. The secret is shown only once — store it somewhere secure before closing the modal.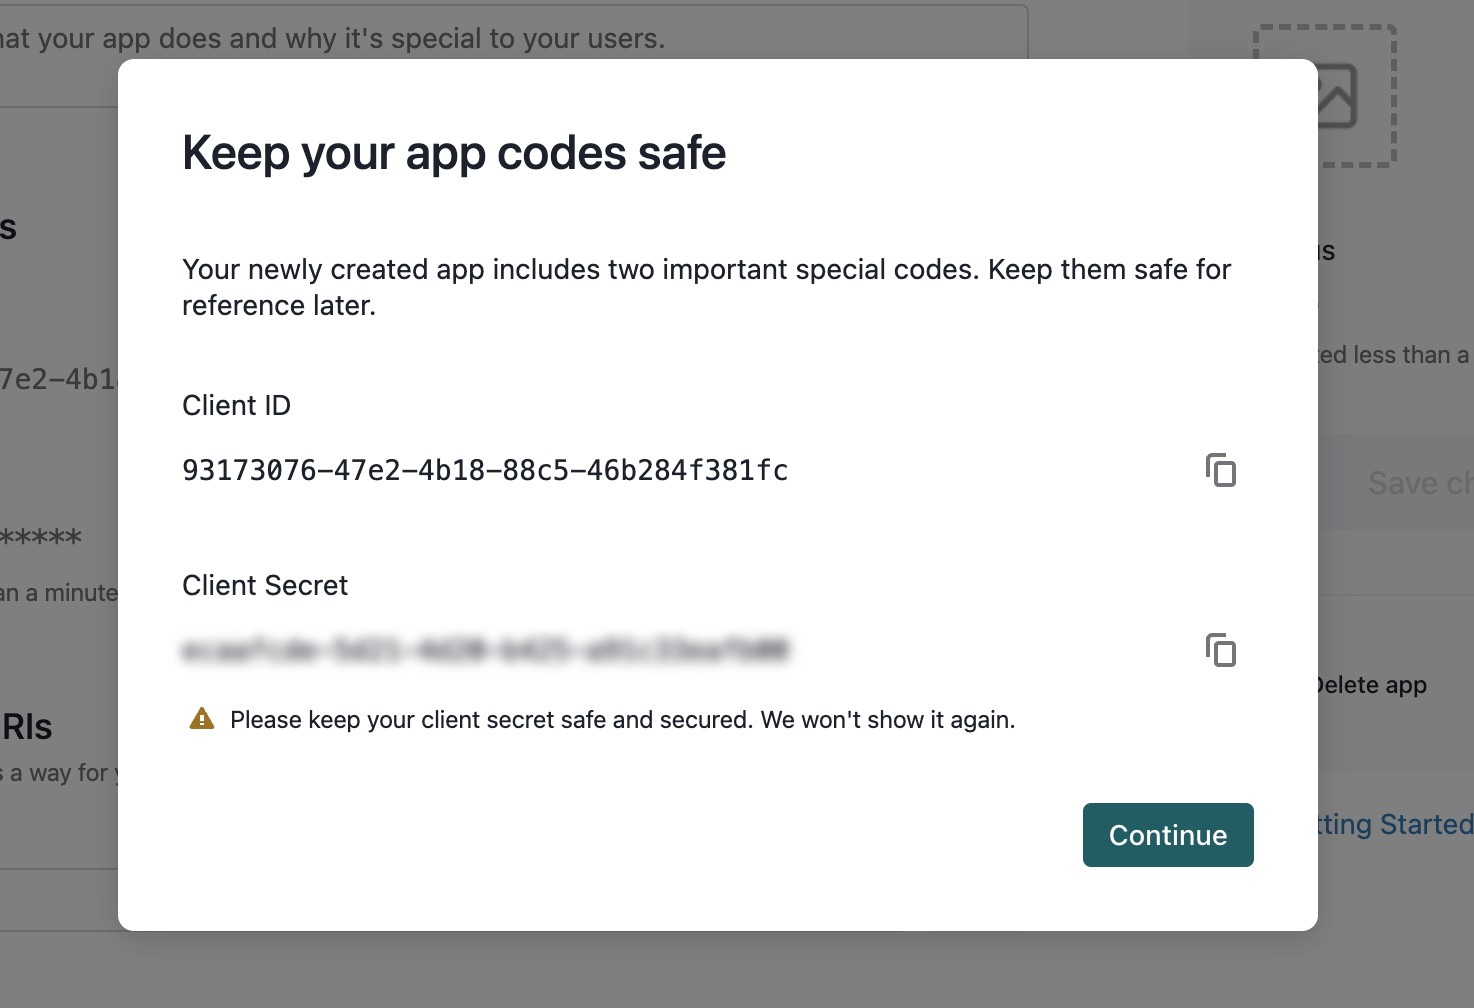
-
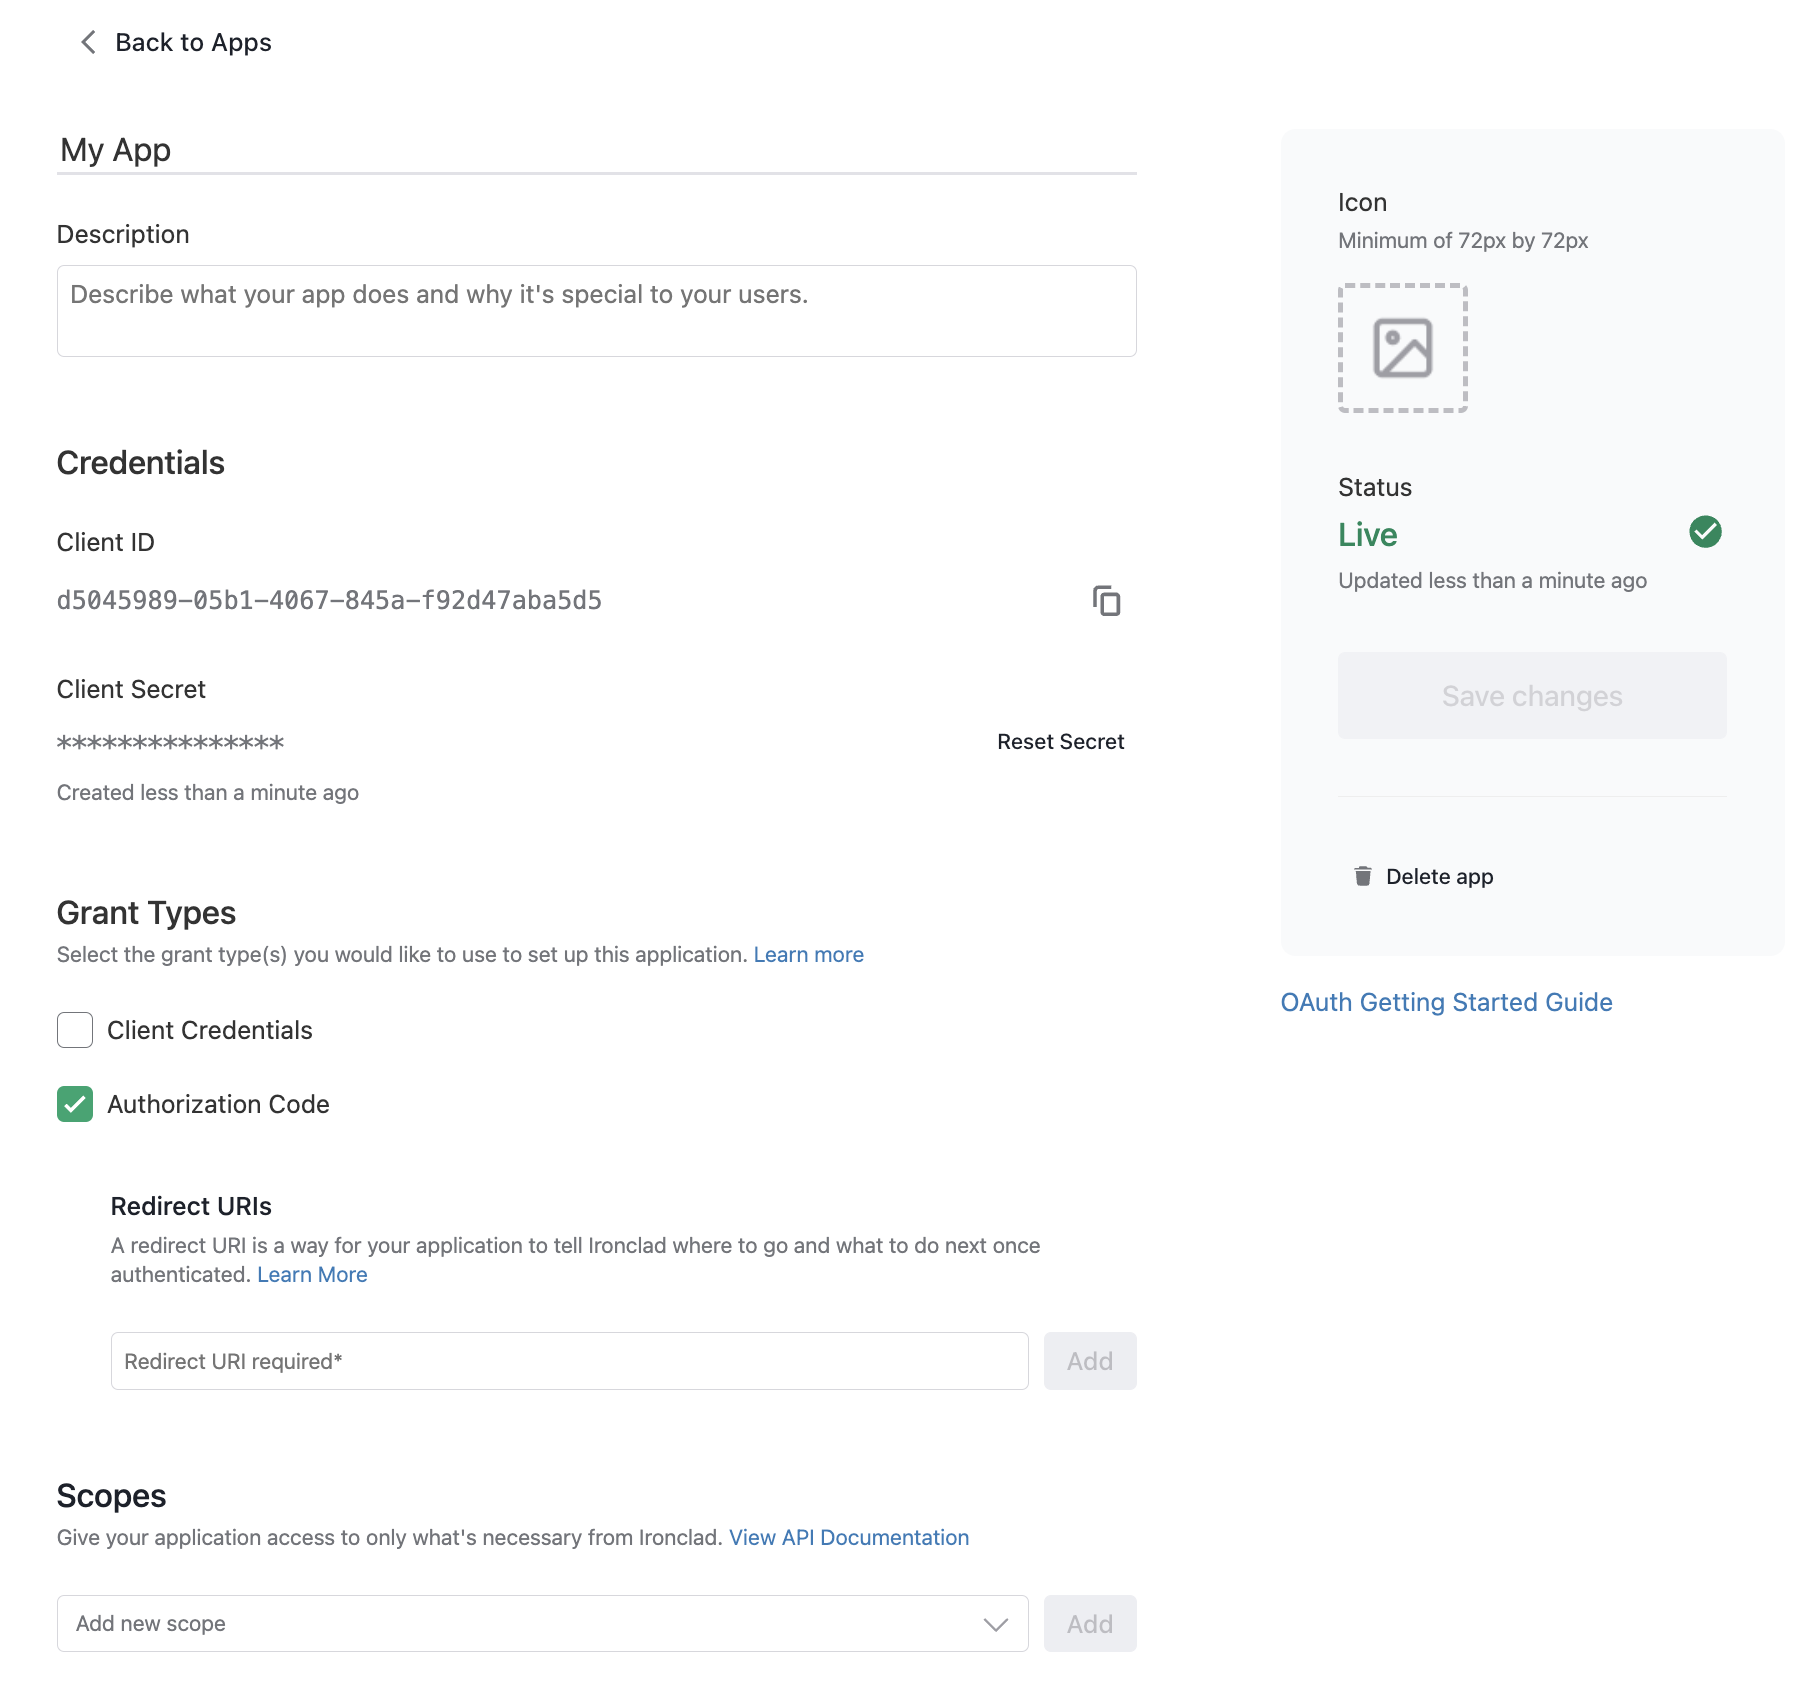
Fill in the rest of the client application details and click Save Changes:
- Redirect URI:
https://app.mintmcp.com/oauth/callback - Grant Types: Authorization Code
- Requested Resource Scopes: the read scopes you want exposed through MCP — see Scope reference below
- Redirect URI:
Scope reference
| Capability | Scope |
|---|---|
| Conversational search over contracts | public.search.conversational |
| Read contract records | public.records.readRecords |
| Read workflows | public.workflows.readWorkflows |
Enable only the scopes your users need. Follow the principle of least privilege.
Add Ironclad to MintMCP
- In MintMCP, go to MCP store > Manage store.
- Click + Add an MCP to your registry → Connect to an MCP by URL.
- Fill in the form:
- Name: Ironclad
- MCP Server URL:
https://mcp.na1.ironcladapp.com/mcp - Authorization Method: OAuth
- Connection Type: Per-user credentials
- Open OAuth Client Advanced Settings and paste:
- Client ID: the
client_idfrom the Ironclad app - Client Secret: the
client_secretfrom the Ironclad app
- Client ID: the
- Click Save.
Security considerations
- The client secret is shown only once in Ironclad — store it securely immediately after creating the app.
- Each user authenticates individually with their own Ironclad login, so contract access reflects their individual Ironclad permissions.
- Enable only the scopes your users need. The
public.search.conversational,public.records.readRecords, andpublic.workflows.readWorkflowsscopes are read-only. - Each Ironclad environment (NA1, EU1, demo) is independent — this guide covers NA1. If your organization uses EU1, register a separate OAuth client there and use the corresponding MCP server URL.
Next steps
- Tool customization — Control which Ironclad tools are exposed to users
- MCP gateway administration — Manage access and permissions