Set up the Asana MCP server
The Asana MCP server lets AI agents read and write Asana data — searching tasks, reading projects and portfolios, creating and updating tasks, and generating status reports. This guide covers creating an Asana MCP app, configuring OAuth, and connecting it to MintMCP as a remote MCP.
Prerequisites
- A MintMCP admin account
- An Asana account with permission to create apps in the Asana developer console
Create an Asana MCP app
Asana does not support dynamic client registration, so an admin must create an MCP app once to obtain the credentials MintMCP needs.
- Go to app.asana.com/0/my-apps.
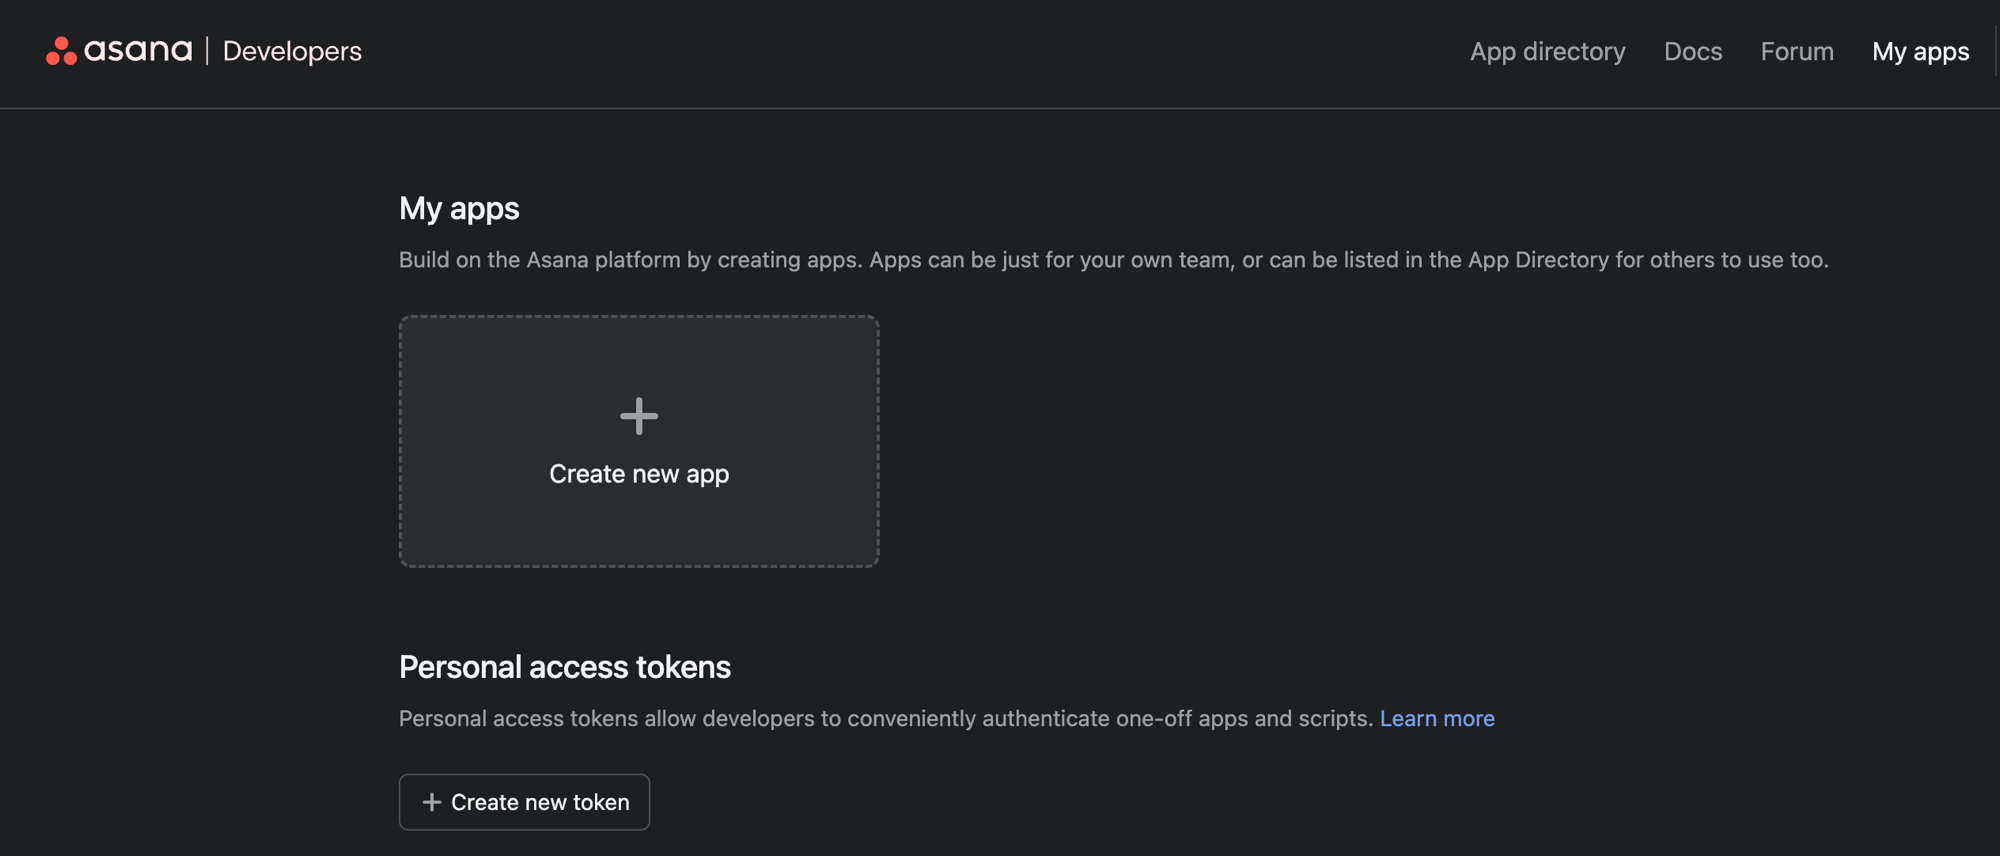
- Click Create new app.
- Enter an App name, for example
MintMCP. - Under App type, select MCP app.
- Check I agree to the Asana API Terms, then click Create app.
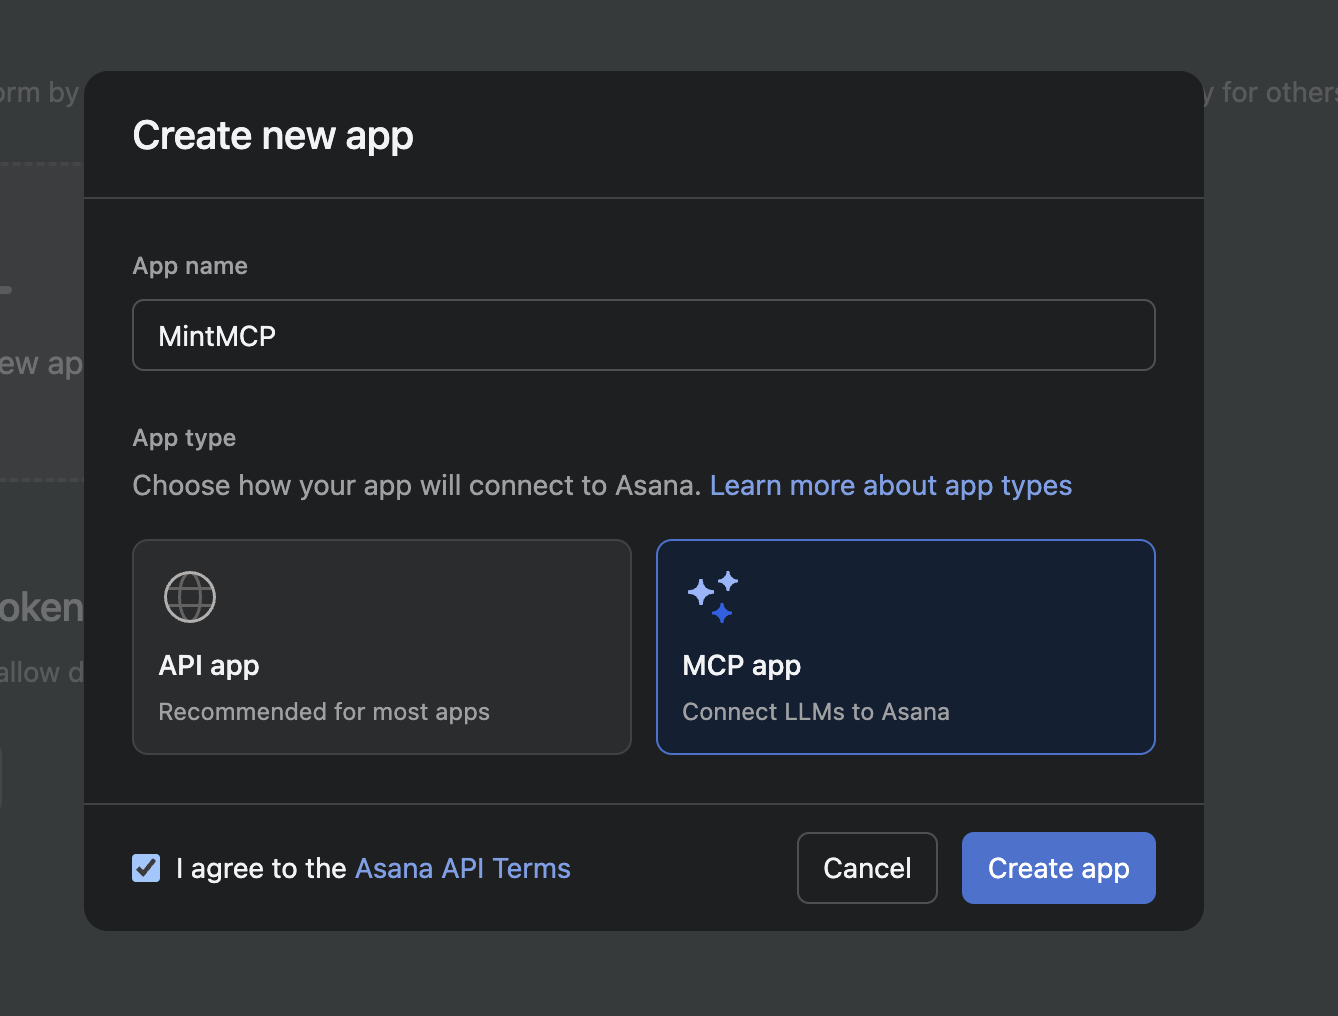
After creation, configure the app's OAuth settings:
- Open the OAuth tab in the app's settings.
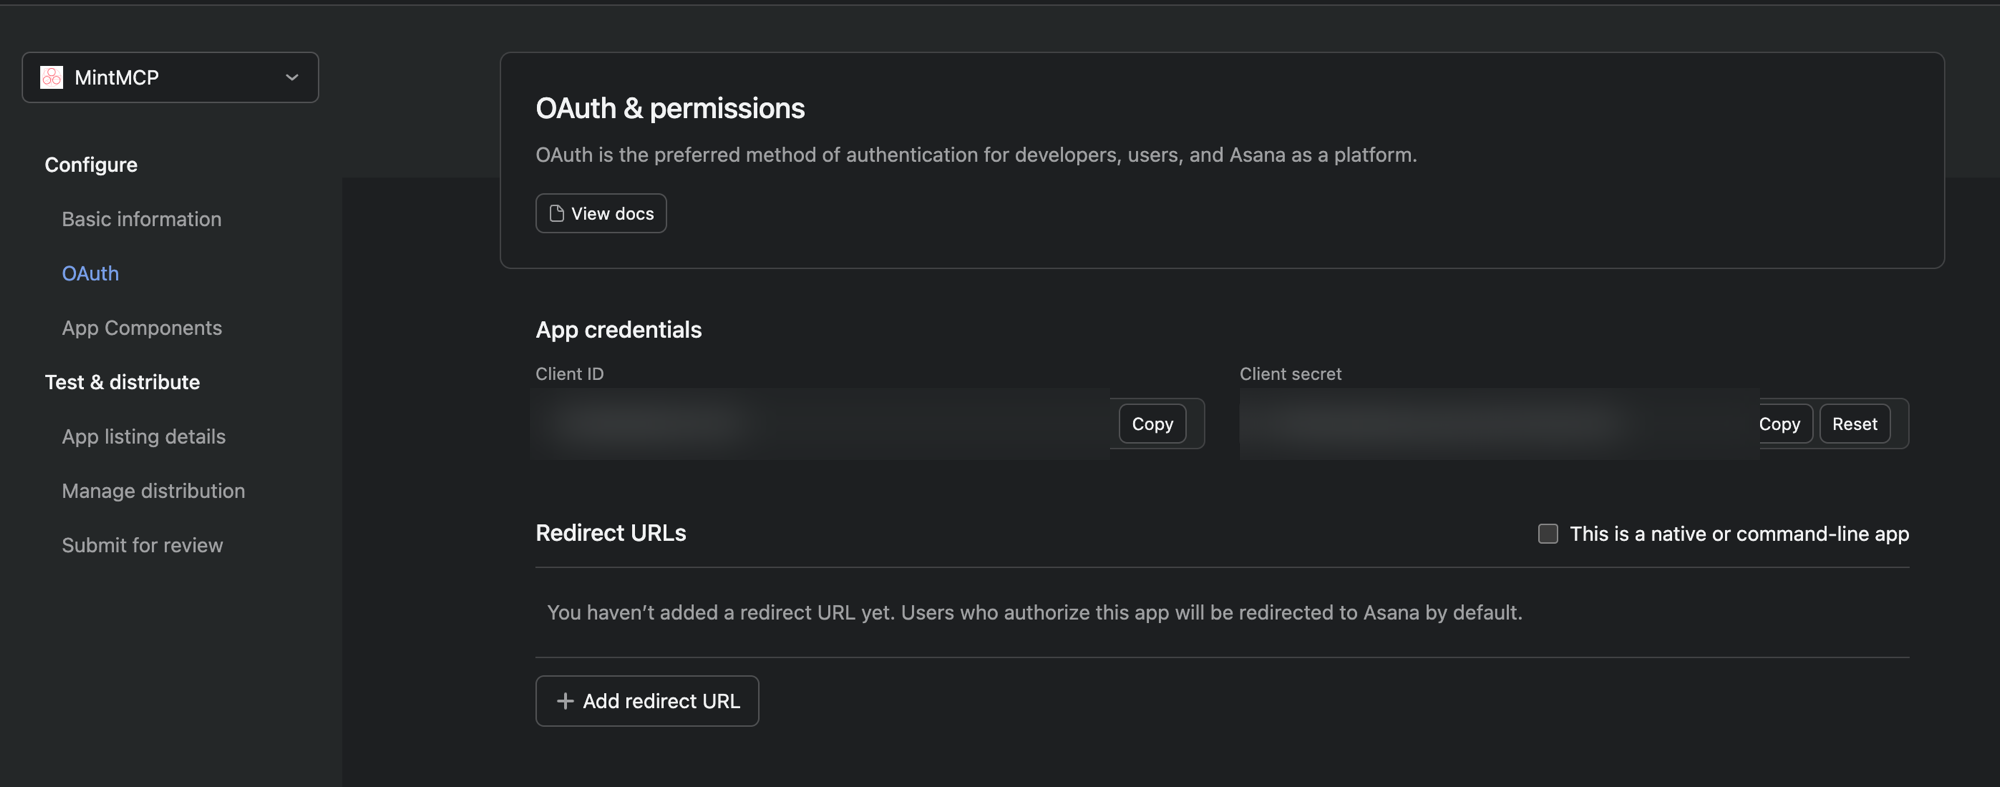
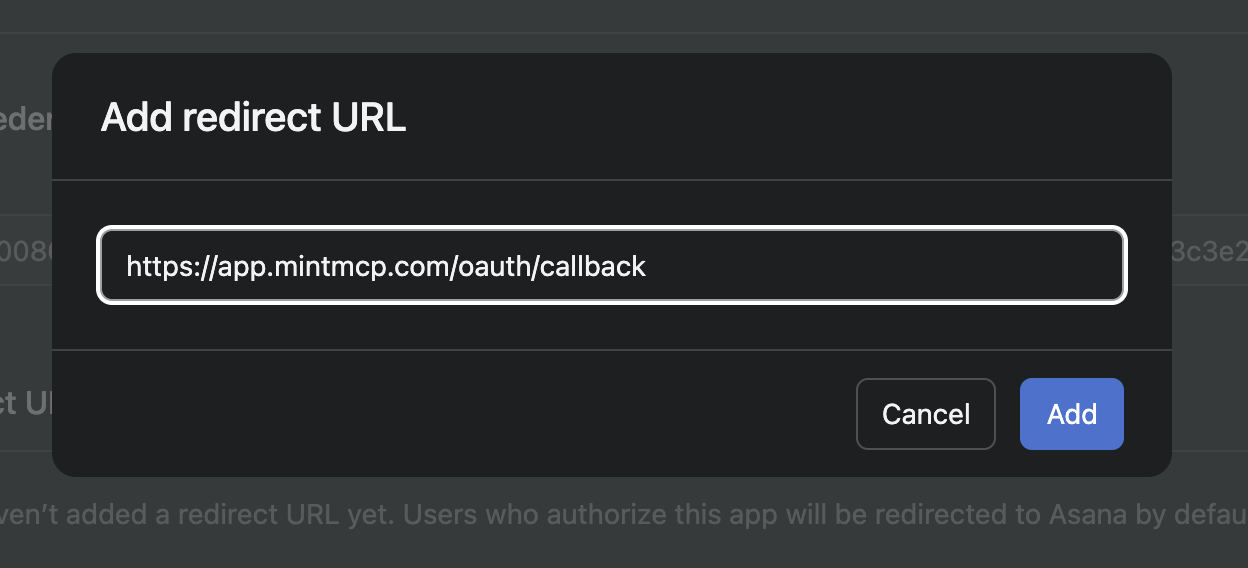
- Under Redirect URLs, click Add redirect URL, enter
https://app.mintmcp.com/oauth/callback, and click Add.
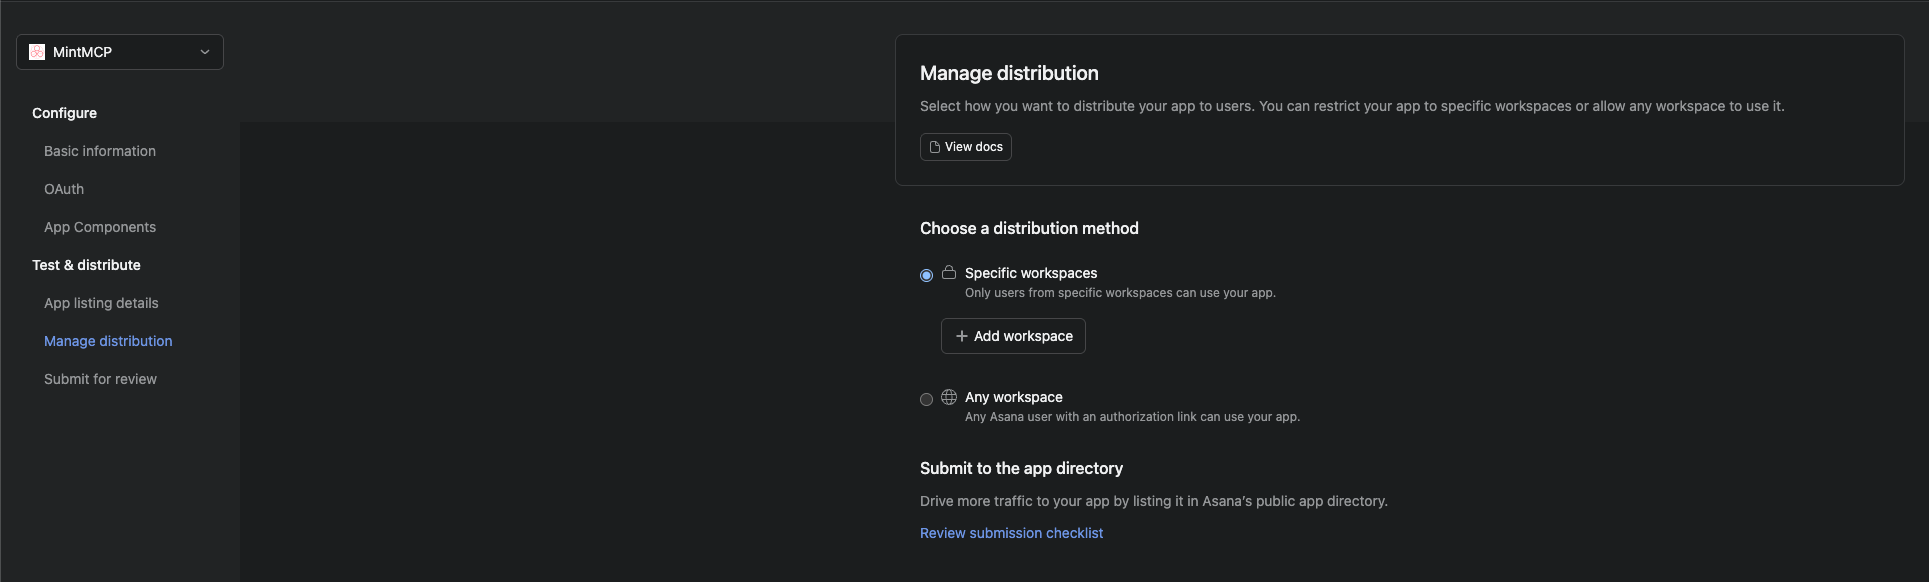
- Open the Manage distribution tab. Under Choose a distribution method, select Any workspace so any Asana user with an authorization link can use the app. To limit access, choose Specific workspaces instead and click Add workspace for each one.
Copy the client ID and secret
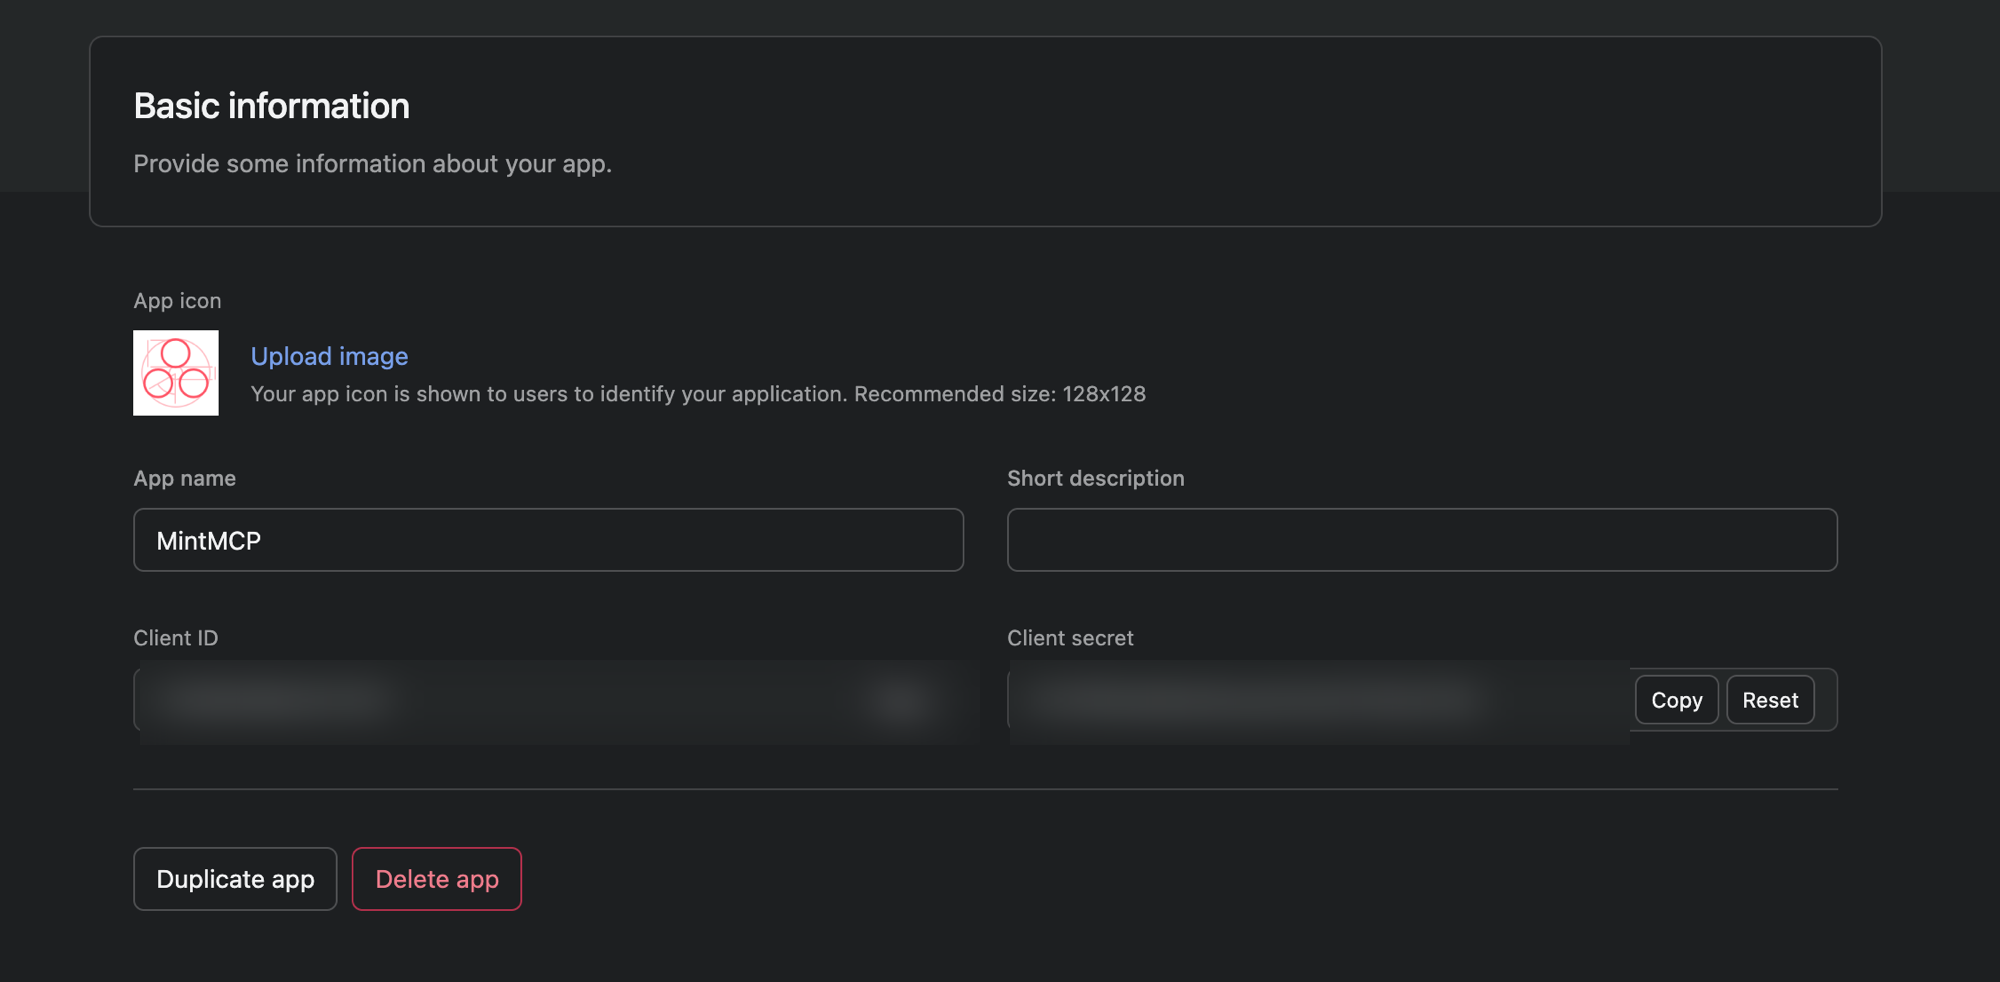
The Client ID and Client secret appear on both the Basic information and OAuth tabs.
- Copy the Client ID.
- Copy the Client secret and store it somewhere secure.
Add Asana to MintMCP
Asana is pre-listed as a recommended server in the MintMCP MCP store. Asana does not support dynamic client registration, so you supply the client ID and secret from the app you created above.
- In MintMCP, go to MCP store > Manage store.
- Find Asana in the recommended servers list and click Install.
- Under OAuth Client Advanced Settings, paste:
- Client ID: the Client ID from your Asana app
- Client Secret: the Client secret from your Asana app
- Click Save.
Each team member signs in with their own Asana account on first use, so all tool calls are tied to their individual permissions.
Security considerations
- Keep the client secret out of version control and treat it like a password — anyone with it can impersonate your Asana app.
- Each user authenticates individually with their own Asana account, so agents can only access projects and tasks the user already has permission to view or edit.
- OAuth tokens issued by Asana's MCP server are MCP-specific and cannot be used with the standard Asana REST API.
Next steps
- Tool customization — Control which Asana tools are exposed to users
- MCP gateway administration — Manage access and permissions