Set up the Shopify MCP server
The Shopify MCP server gives AI agents access to store data through the Admin GraphQL API — products, collections, inventory, orders, customers, discount codes, and ShopifyQL analytics. This guide covers creating a Shopify app in the Dev Dashboard, configuring OAuth, and connecting it to MintMCP.
Prerequisites
- A MintMCP admin account
- A Shopify store with admin access
Create a Shopify app
Shopify apps are created in the Dev Dashboard, which you reach from your store's admin.
- Sign in at shopify.com and open the admin of the store you want to connect (admin.shopify.com).
- Click Settings in the bottom-left corner.
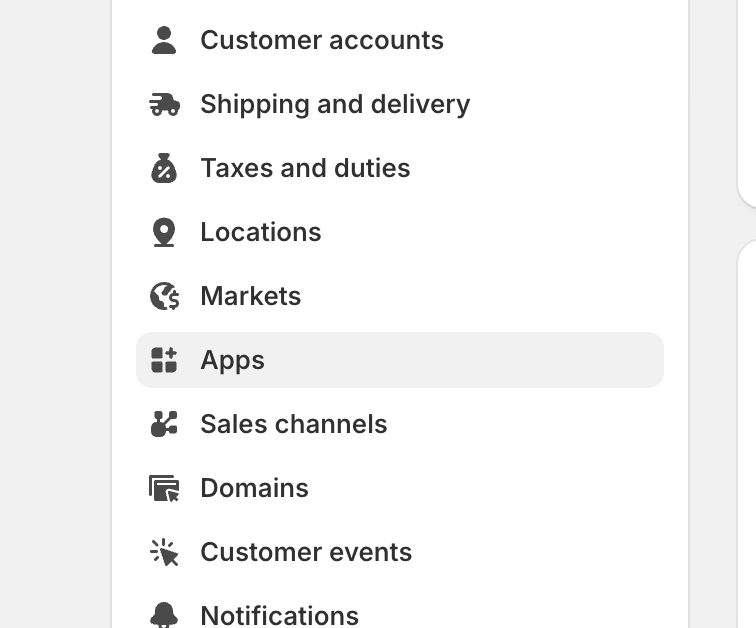
- In the settings menu, click Apps.
- Click Develop apps in the top-right corner.
- Click Build apps in Dev Dashboard. This redirects you to the Shopify Dev Dashboard.
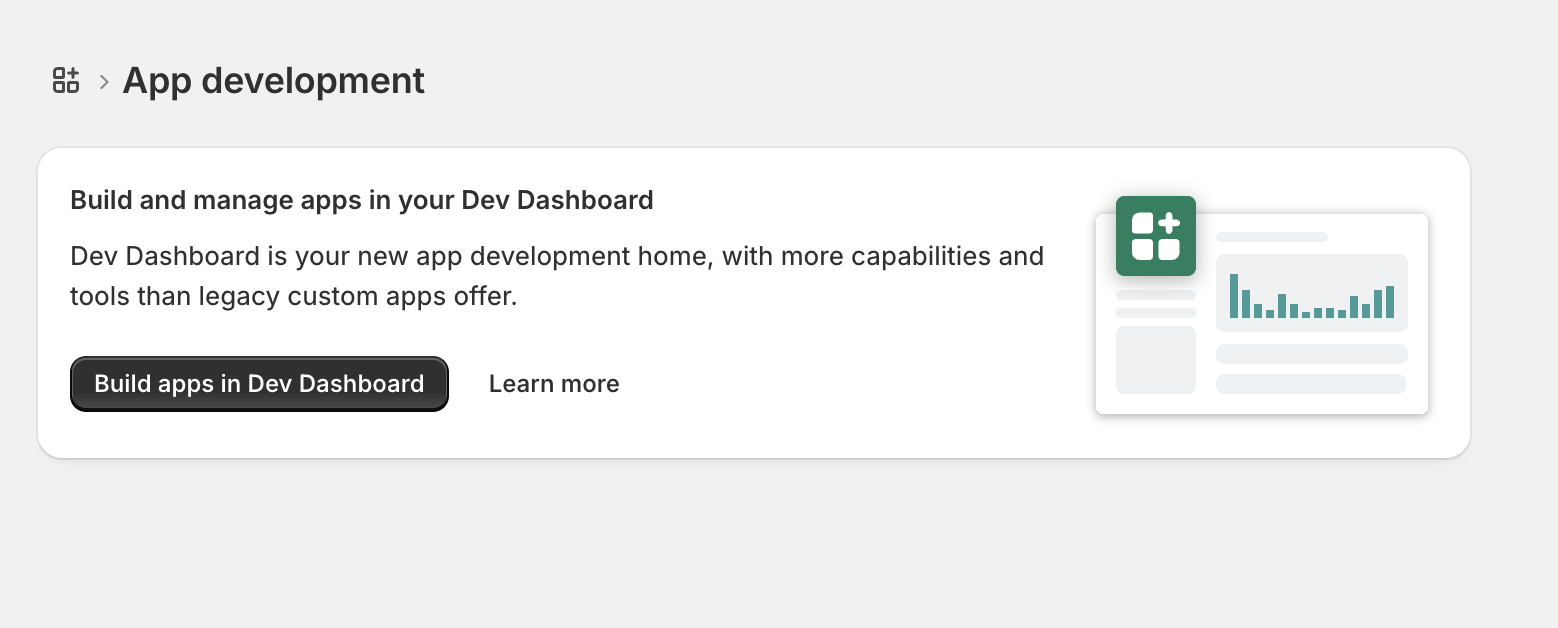
- In the Dev Dashboard, click Create app under Get API credentials.
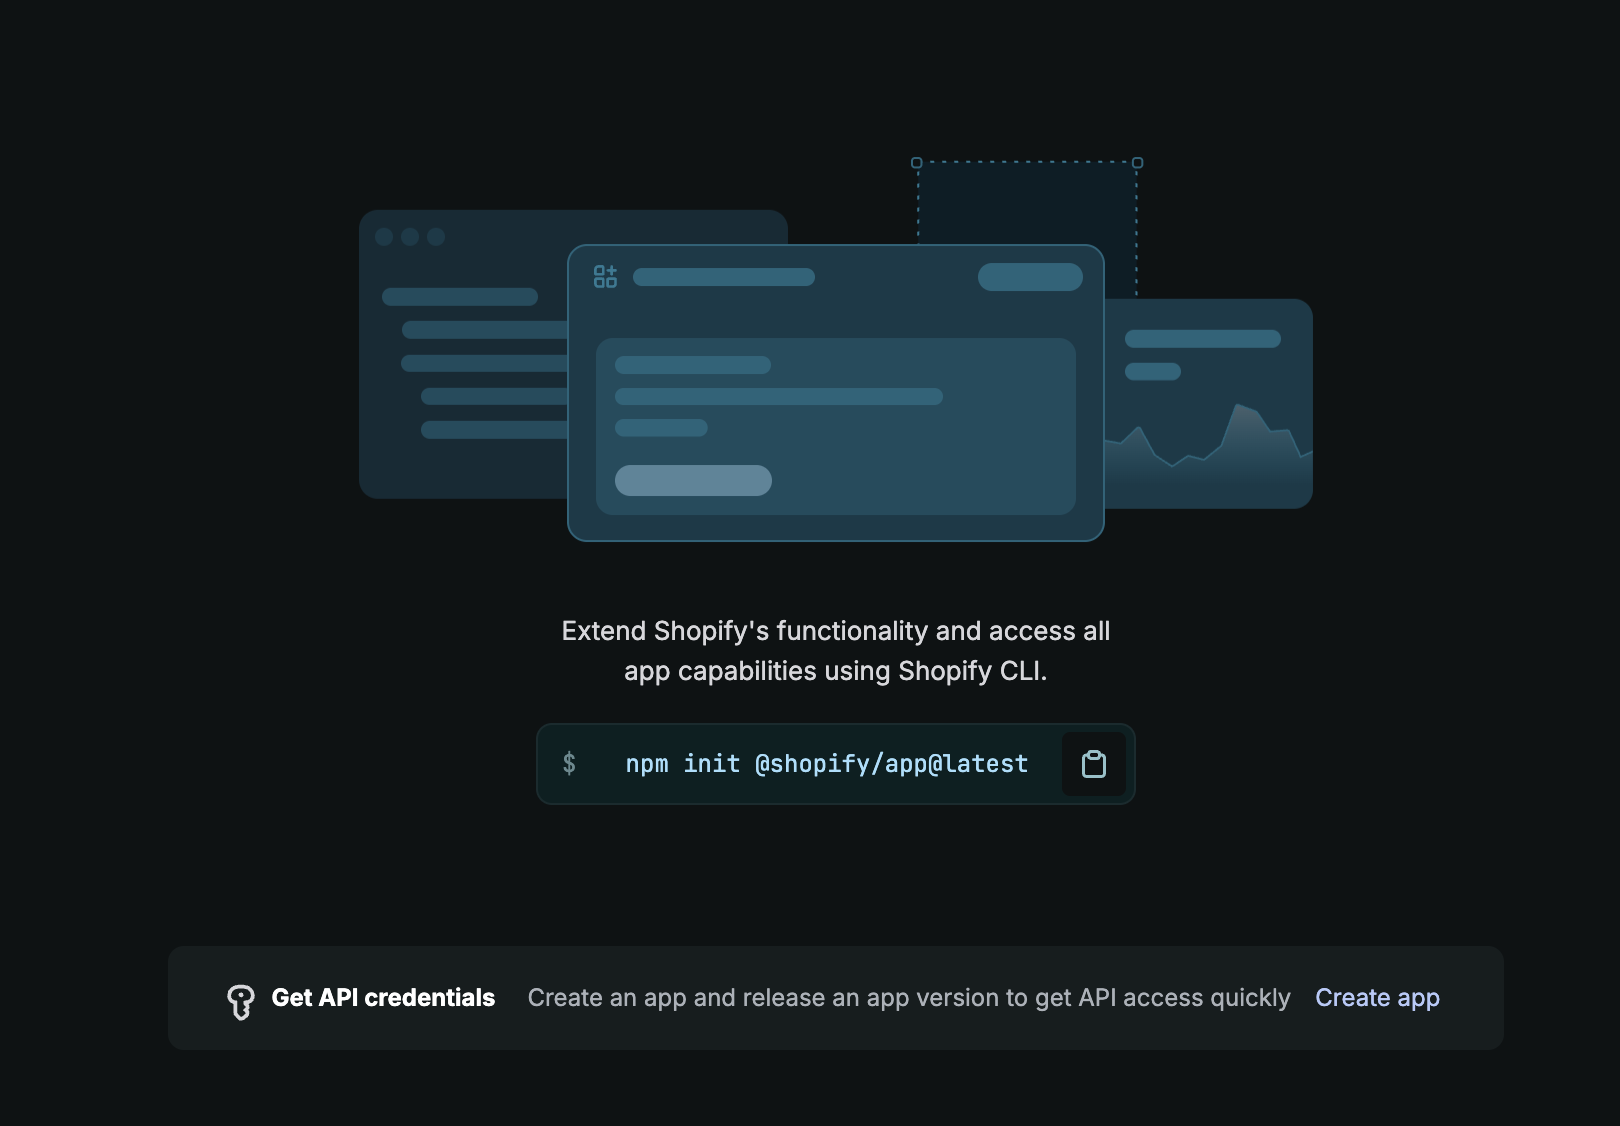
- Under Start from Dev Dashboard, enter an app name — for example, MintMCP OAuth — and click Create.

Configure and release a version
The app URL, scopes, and redirect URLs live in app versions, and the configuration only takes effect when you release one.
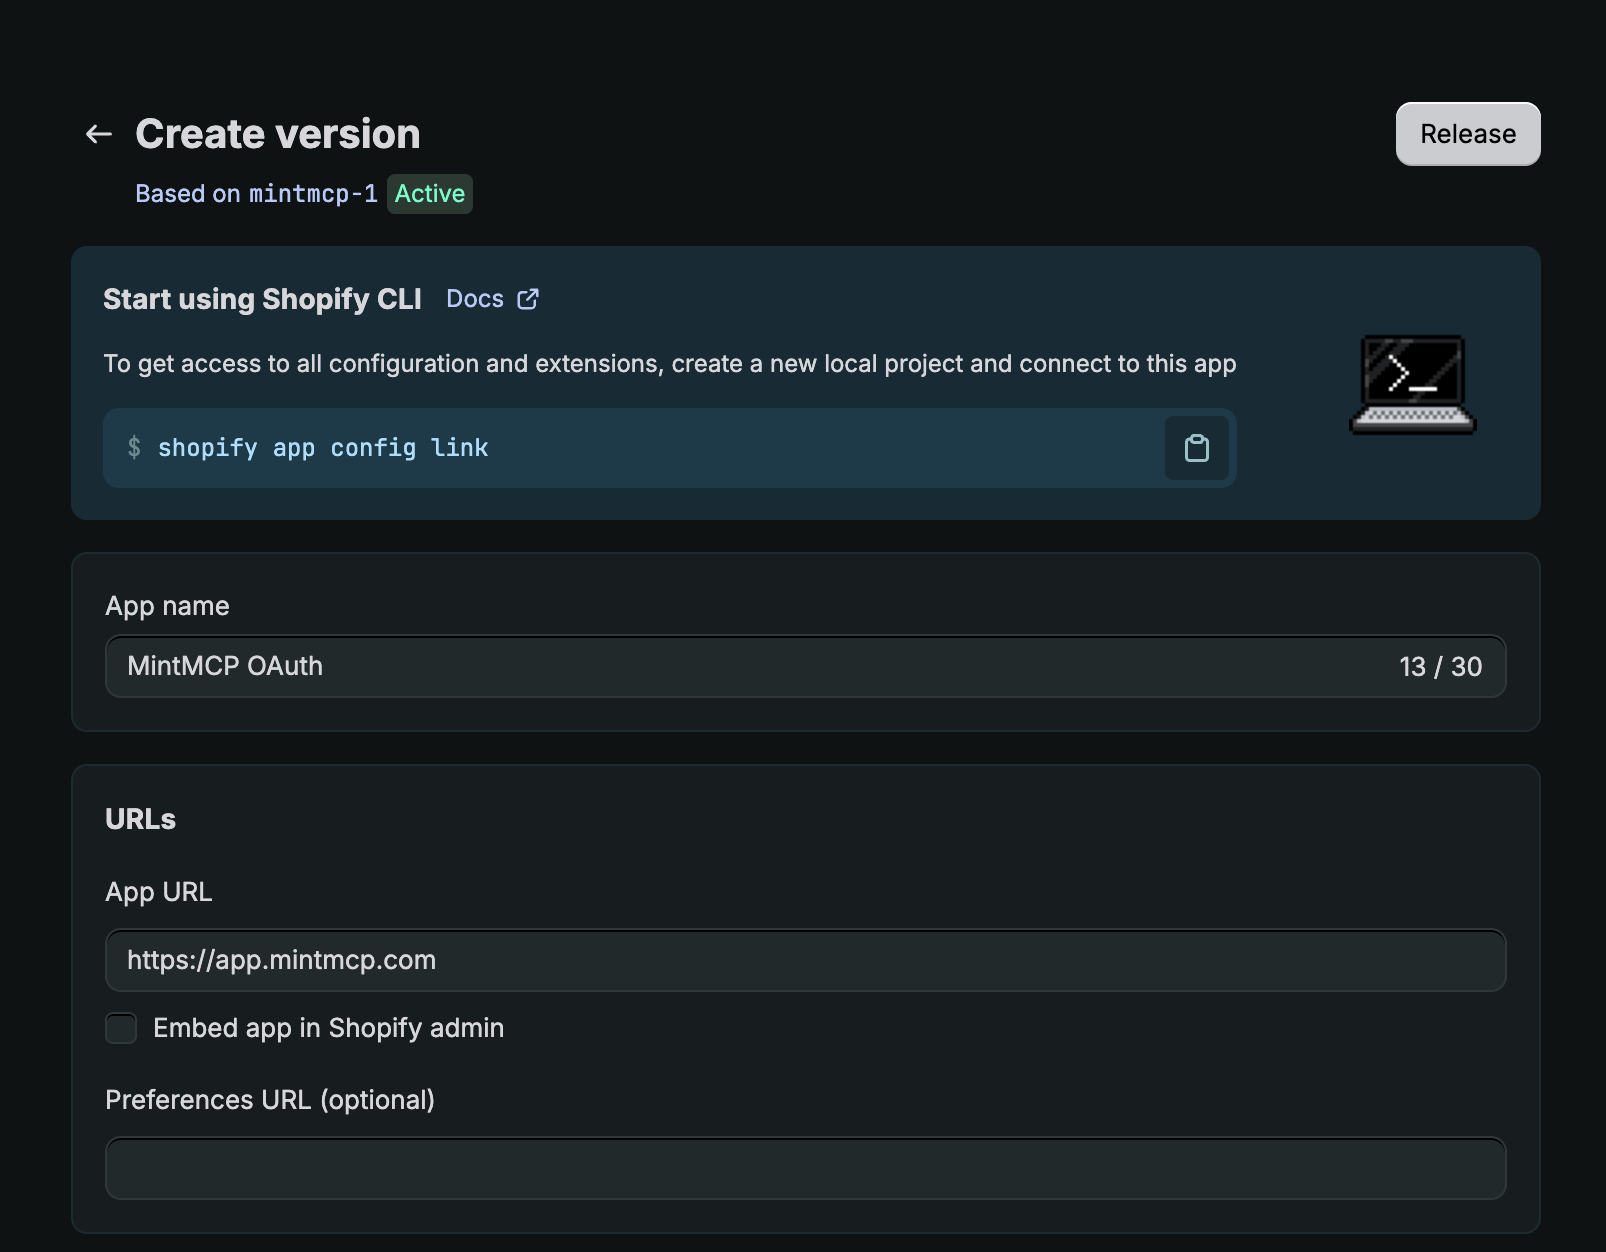
- Click Create version.
- Set App URL to
https://app.mintmcp.com. - Leave Embed app in Shopify admin unchecked — the app runs through MintMCP, not inside the Shopify admin.
-
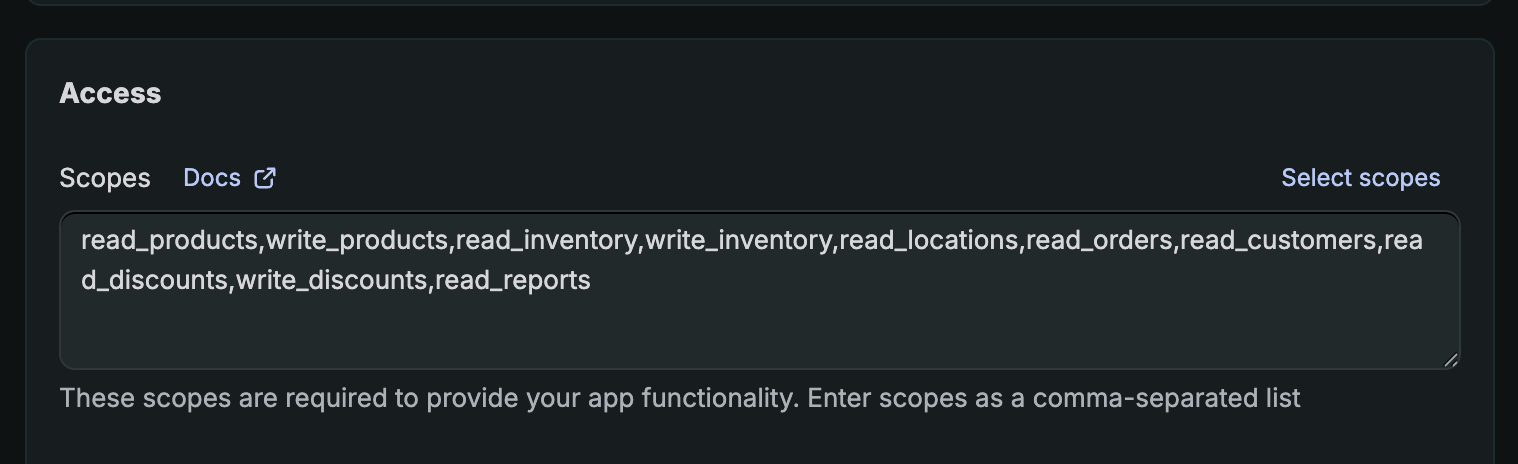
Under Access > Scopes, paste this comma-separated list — or click Select scopes and pick them by hand:
read_products,write_products,read_inventory,write_inventory,read_locations,read_orders,read_customers,read_discounts,write_discounts,read_reports
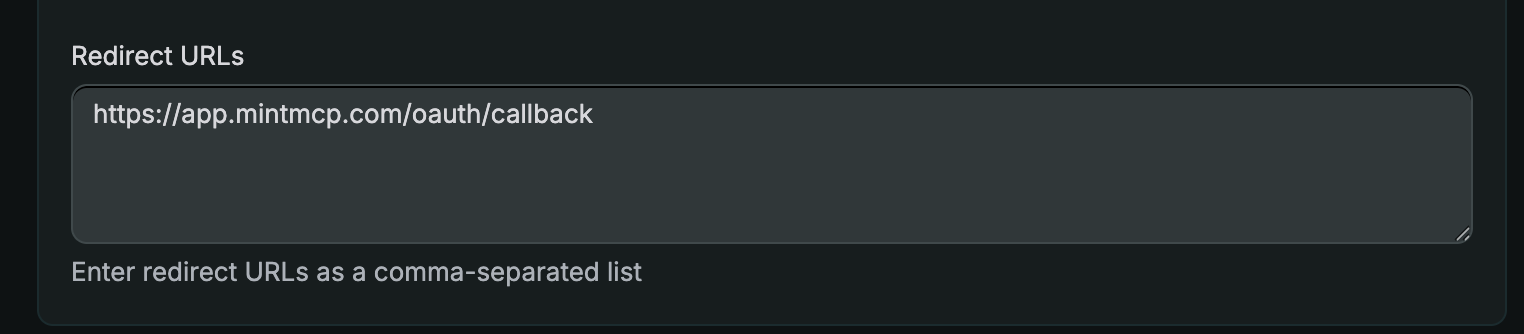
- Under Redirect URLs, enter
https://app.mintmcp.com/oauth/callback.
- Click Release. You'll be asked for a version name and message — both are optional, so you can skip them.
Each scope grants the following access:
| Scope | Access granted |
|---|---|
read_products | Read product listings |
write_products | Create and update products |
read_inventory | Read inventory levels |
write_inventory | Update inventory |
read_locations | Read store locations |
read_orders | Read orders |
read_customers | Read customer data |
read_discounts | Read discount codes |
write_discounts | Create and update discount codes |
read_reports | Read ShopifyQL analytics and reports |
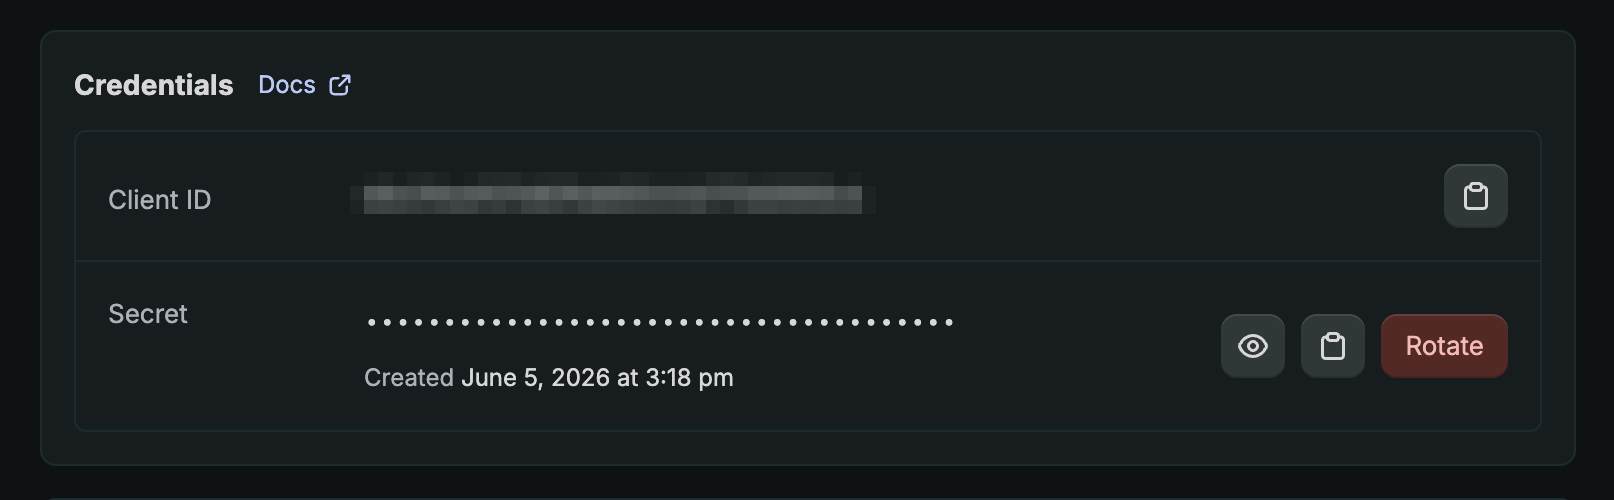
Copy the client ID and client secret
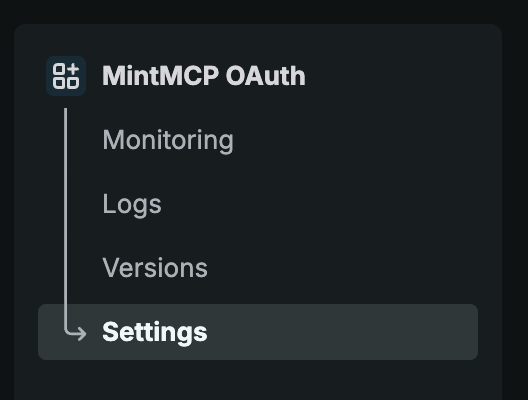
- In the app's left menu, click Settings.
- In the Credentials card, copy the Client ID, then reveal and copy the Secret. You'll need both in a later step — keep the secret private.
Install the app on your store
The app can only access stores it's installed on.
- Click the app name in the left menu to open its Overview page.
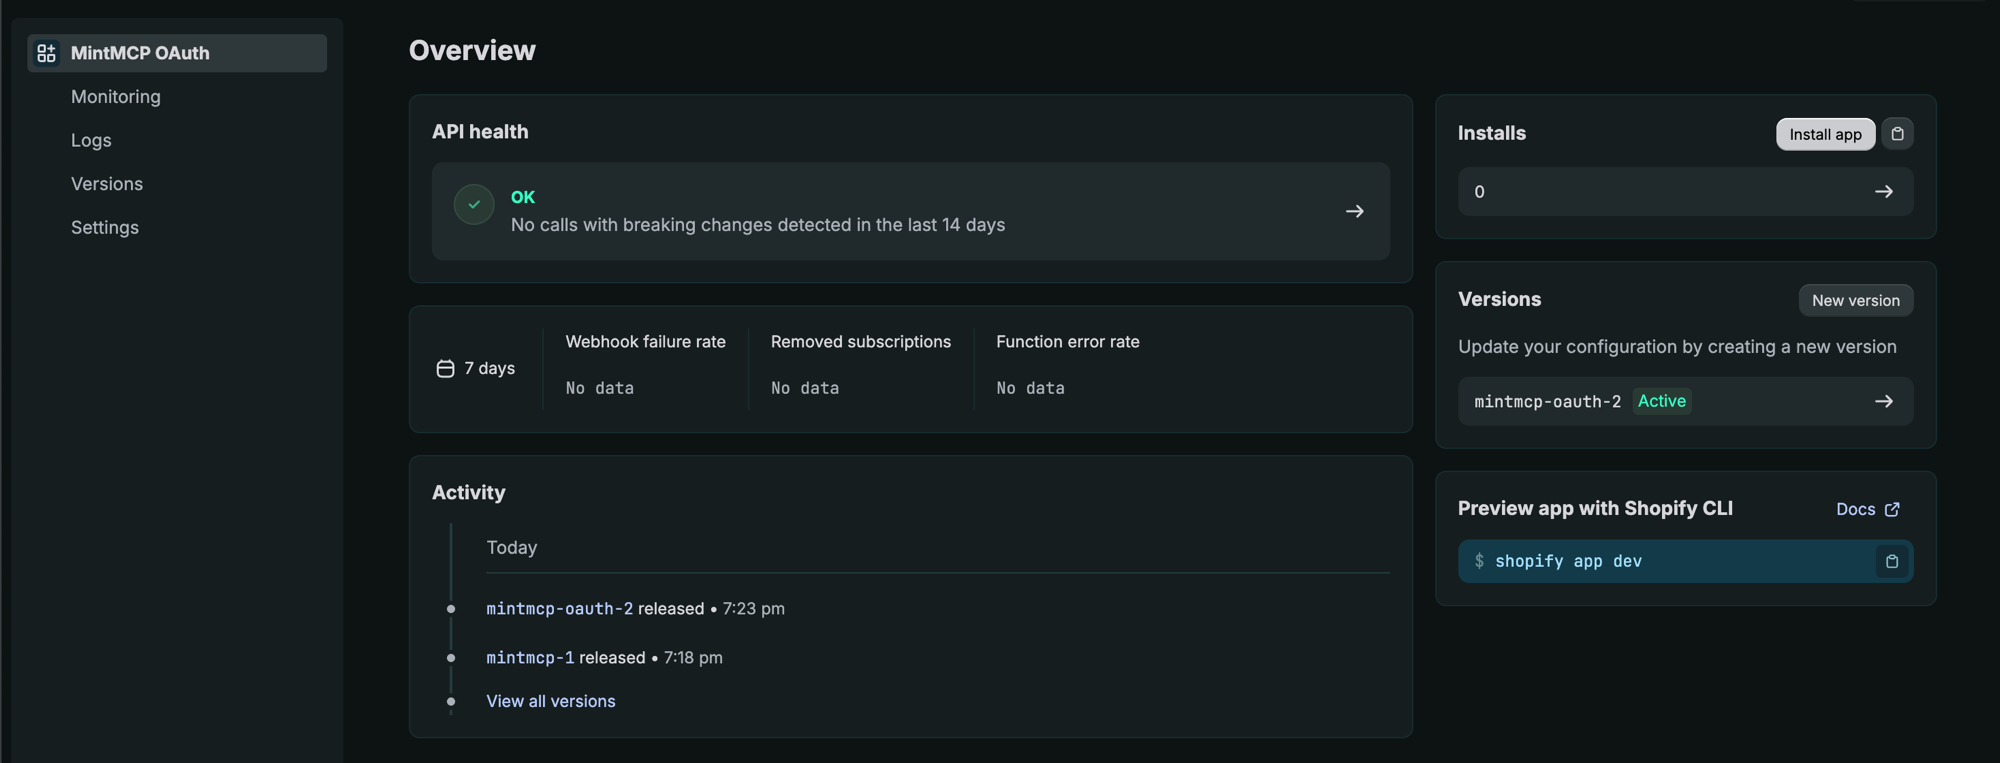
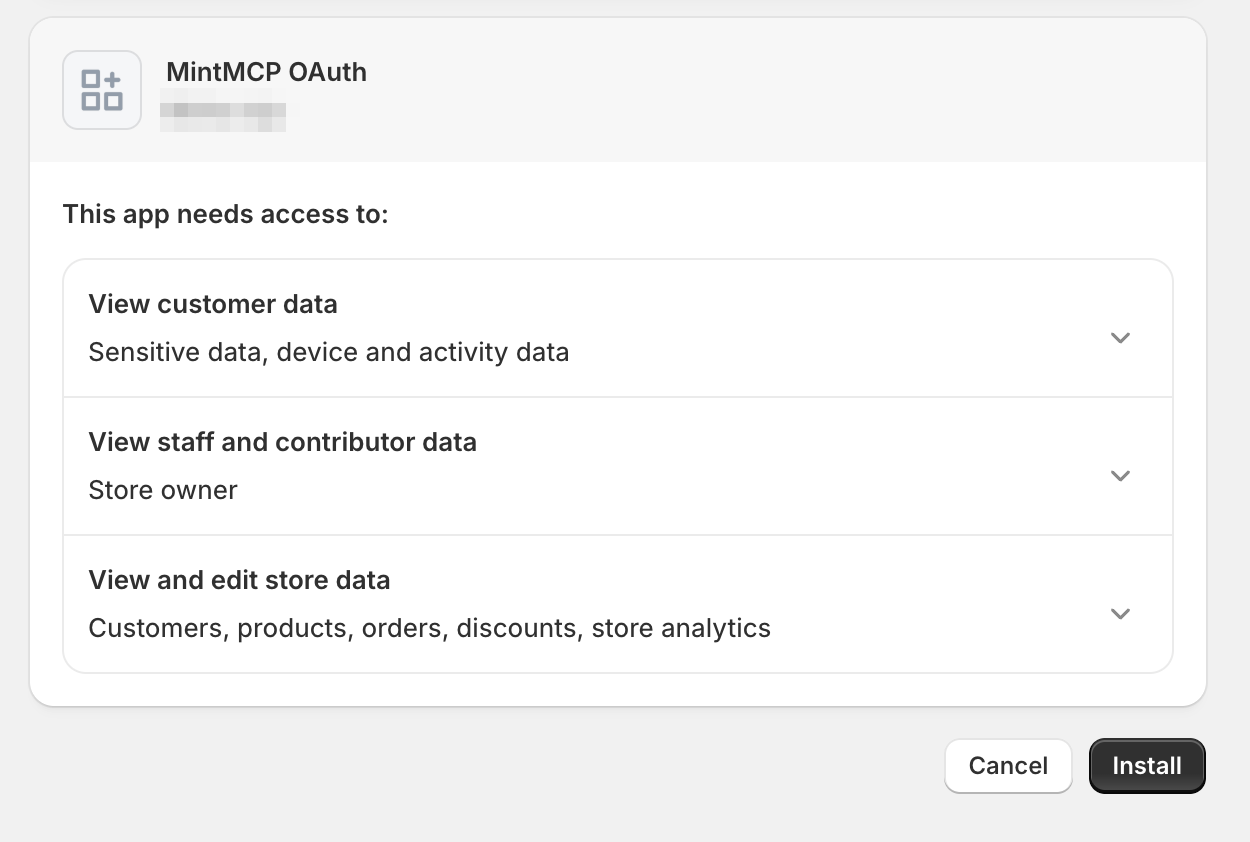
- In the Installs card, click Install app.
- Select the store you want to connect.
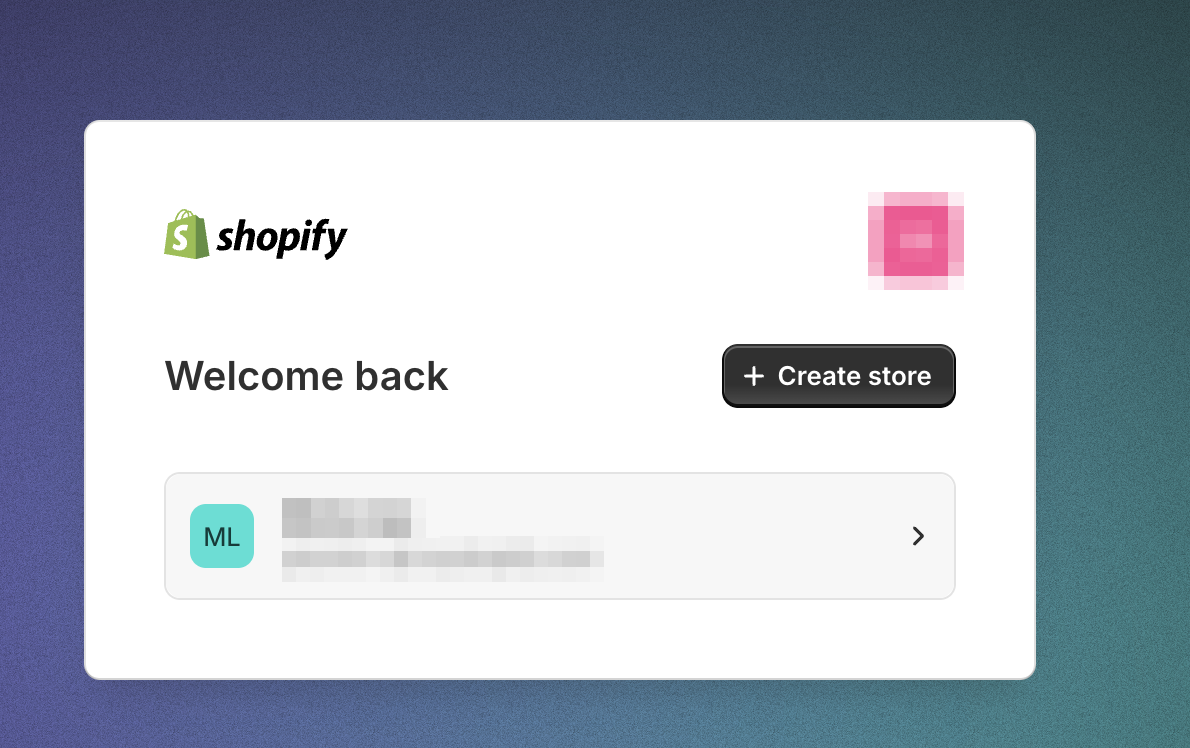
- Review the requested access and click Install.
Add Shopify to MintMCP
Shopify OAuth endpoints are per-store — each connector instance connects to exactly one store. {store} is a placeholder for your store's myshopify.com subdomain.
-
In MintMCP, go to MCP store > Manage store.
-
Find Shopify in the recommended servers and click Install, then Continue. A setup page appears with the connector configuration.
-
Set
SHOPIFY_STORE_DOMAINto{store}.myshopify.comwith Global scope. -
Set Authorization URL to
https://{store}.myshopify.com/admin/oauth/authorize. -
Set Token URL to
https://{store}.myshopify.com/admin/oauth/access_token. -
Set Scopes to the same comma-separated list you used in the Shopify app:
read_products,write_products,read_inventory,write_inventory,read_locations,read_orders,read_customers,read_discounts,write_discounts,read_reports -
Enter the Client ID and Client Secret you copied from the app's Settings > Credentials card.
-
Confirm the Redirect URL shown on the setup page matches
https://app.mintmcp.com/oauth/callback. It must be identical to the one in your Shopify app version, or authentication fails. -
Click Install again to finish.
Security considerations
- The client secret grants OAuth access on behalf of your Shopify app — store it securely and rotate it if exposed.
- The connector uses offline access tokens, so permissions come from the app's scopes rather than the authenticating user's store role — every user gets the same store-level access. Grant only the scopes your team needs.
- Shopify OAuth tokens are per-store — this connector serves only the one store you configured.
SHOPIFY_STORE_DOMAINis set globally, so all users connect to the same store.- Write-capable tools (product edits, inventory changes, discount creation) carry destructive annotations in MCP, so clients that respect these annotations will prompt users before executing write operations.
Next steps
- Tool customization — Control which Shopify tools are exposed to users
- MCP gateway administration — Manage access and permissions