Set up the Persona MCP server
The Persona MCP server lets AI agents query identity verification data — inquiries, verifications, accounts, reports, and transactions — directly from Persona's platform. This guide walks through generating a Persona API key and connecting the pre-listed server to MintMCP.
Prerequisites
- A MintMCP admin account
- A Persona account (sign up at withpersona.com)
Generate a Persona API key
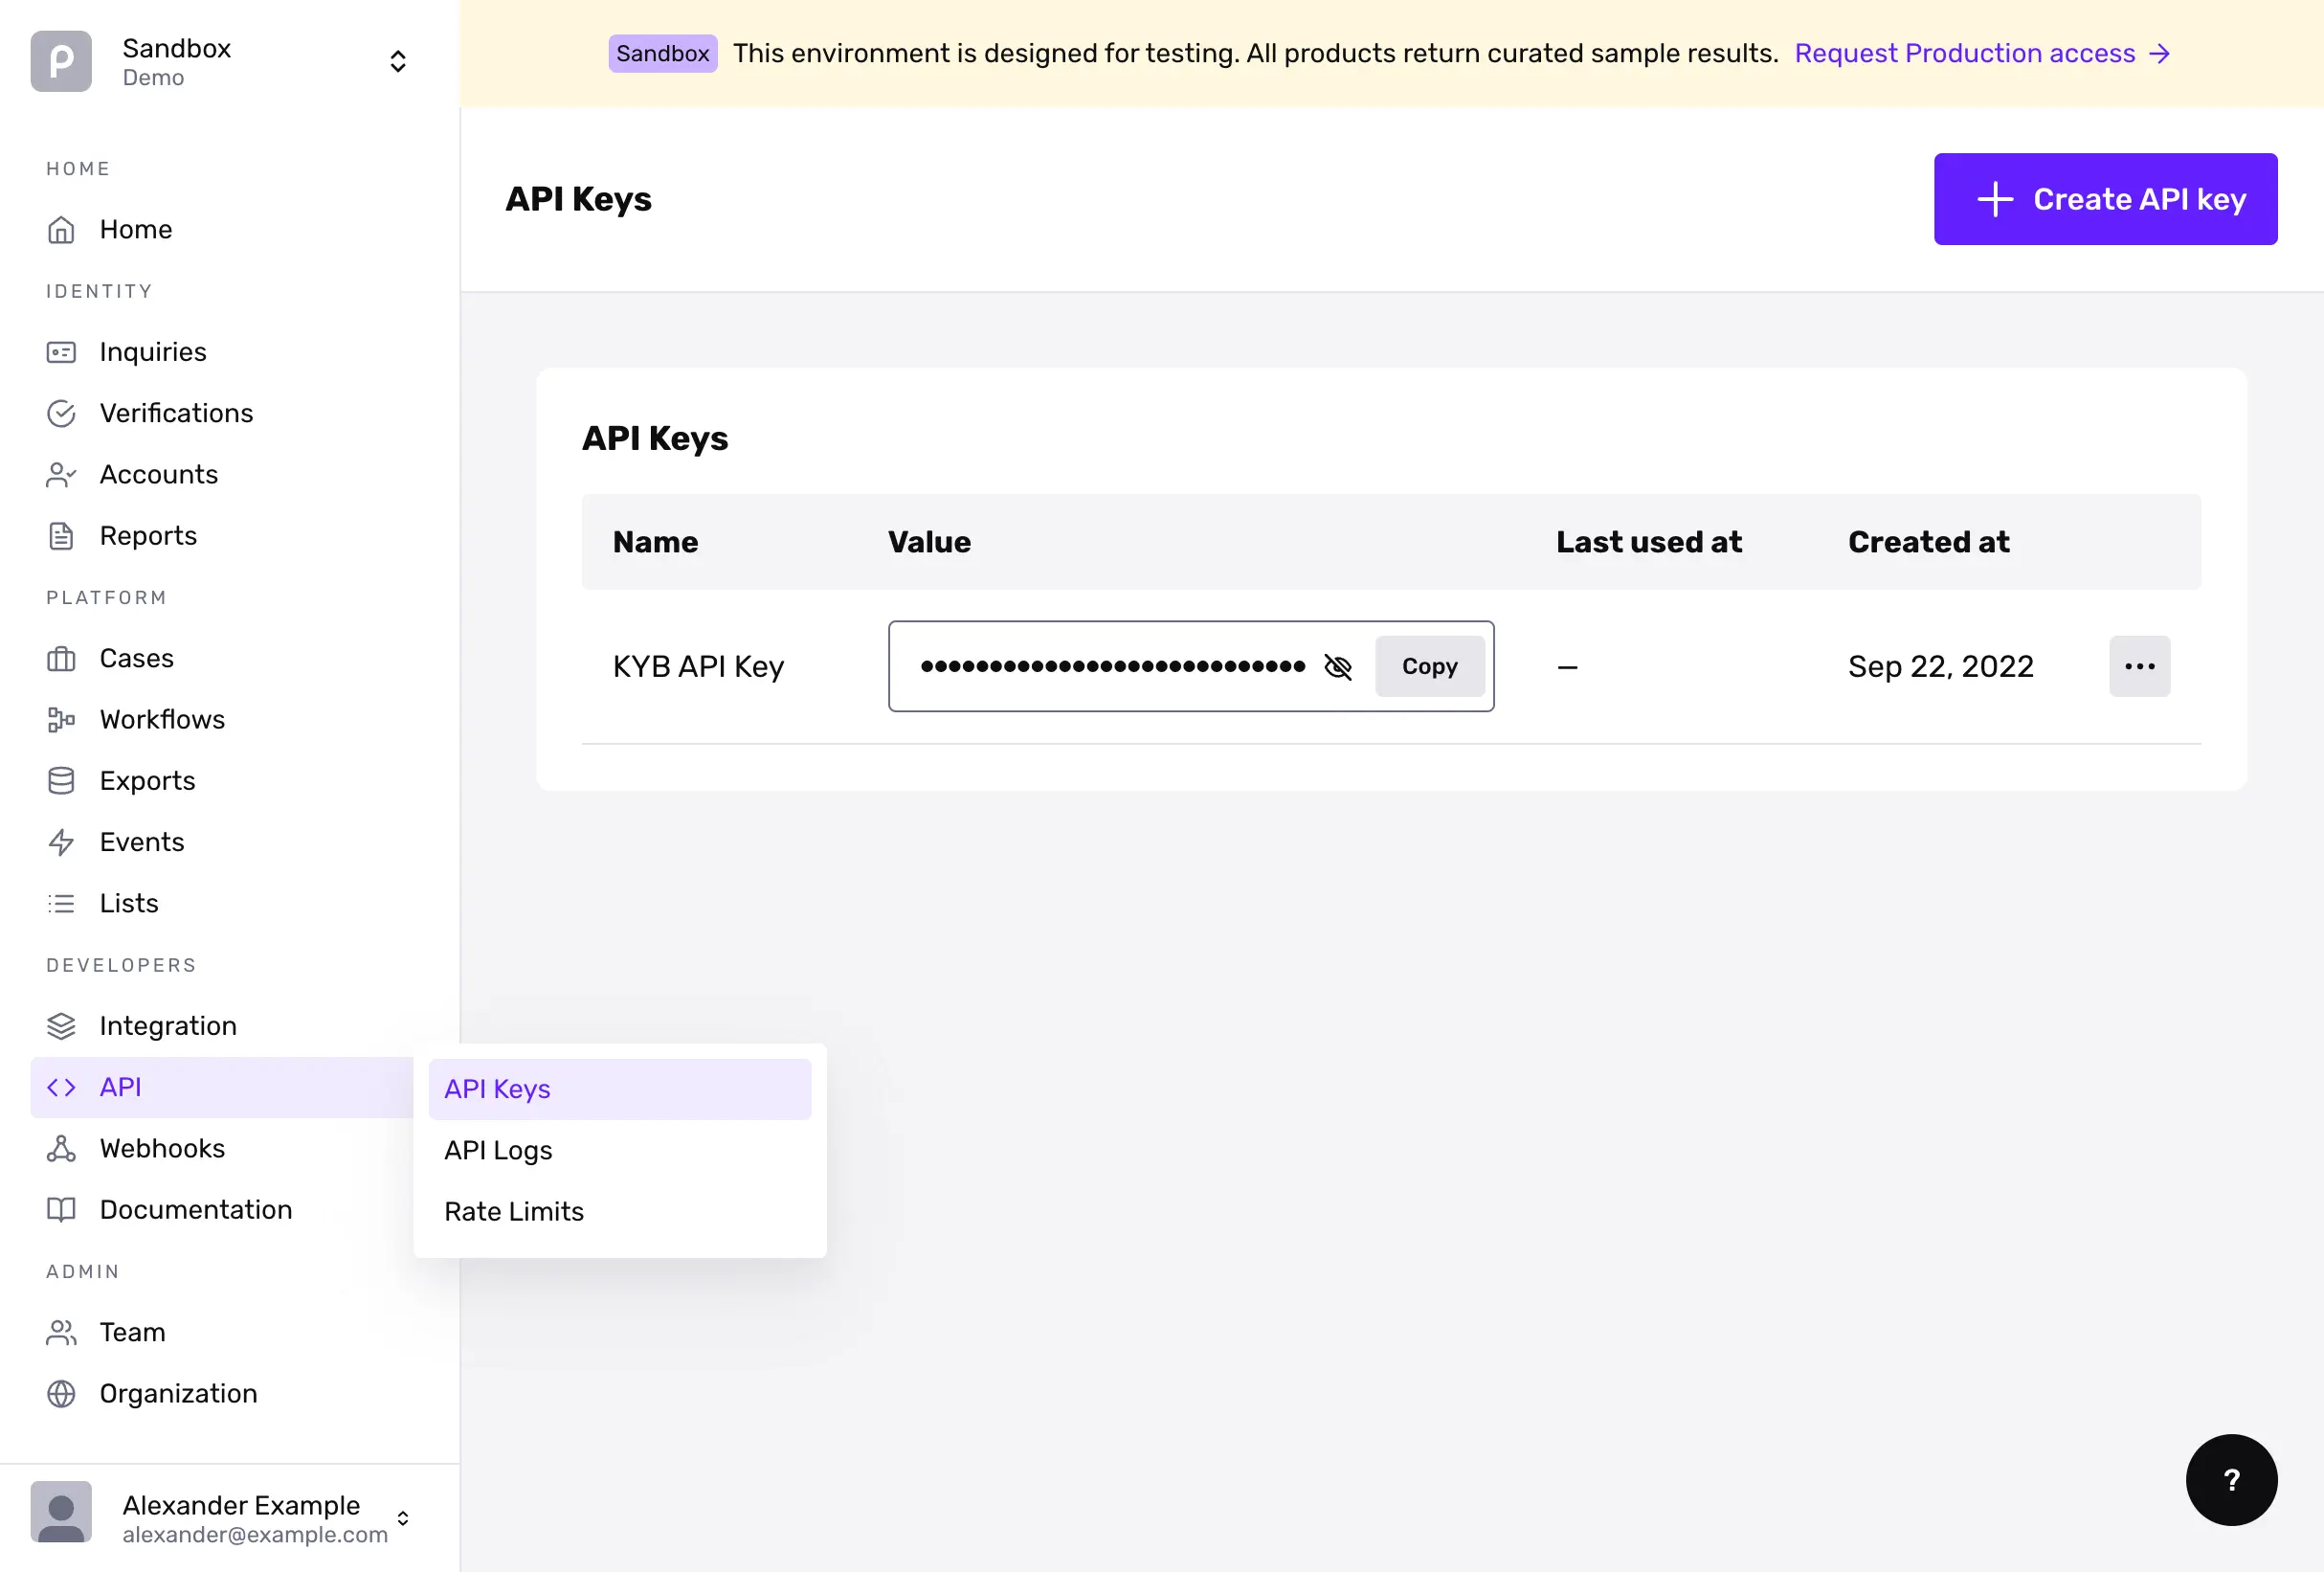
- Click Create new API key.
- Enter a name (for example, "MintMCP") and configure permissions for the key.
Persona recommends creating a dedicated key with only the scopes your agents need. The table below maps common capabilities to their required scopes:
| Capability | Scopes |
|---|---|
| Read inquiries | inquiry.read |
| Read verifications | verification.read |
| Read reports | report.read |
| Read cases | case.read |
| Read accounts | account.read |
| Read transactions | txn.read |
| Create or update inquiries | inquiry.write |
| Update cases | case.write |
| Trigger workflows | workflow.trigger |
- Click Create API key and copy the key value. Persona only shows it once.
Add Persona to MintMCP
- In MintMCP, go to MCP store > Manage store.
- Click the Recommended Servers tab.
- Find Persona and click to configure it.
- Set Connection type to Shared credentials.
- Set Authorization method to Bearer Token.
- Paste the API key into the Bearer Token field.
- Click Create.
Security considerations
- API keys carry access to your Persona identity data within the configured scopes — store them securely and never commit them to source control.
- Grant only the scopes your agents require. Read-only scopes (
*.read) are sufficient for agents that retrieve data without taking actions. - Persona's MCP server enforces key-level permissions on every request, so a leaked key exposes only the scopes it was granted.
- If a key is compromised, rotate it immediately from the Dashboard API keys page.