Set up the Meta Ads MCP server
The Meta Ads MCP server gives AI agents access to the Meta Marketing API — ad accounts, campaigns, ad sets, ads, creatives, performance insights, and targeting search across Facebook and Instagram. This guide walks through creating a Meta app, configuring Facebook Login for Business, and connecting it to MintMCP.
Prerequisites
- A MintMCP admin account
- A Meta Business account with access to one or more ad accounts — create one at business.facebook.com if needed
- Admin access to the Meta Developer Portal at developers.facebook.com
Create a Meta app
Meta's create-app wizard walks through five steps: App details, Use cases, Business, Requirements, and Overview.
-
Go to developers.facebook.com/apps and click Create app.
-
Under App details, enter an app name (for example,
MintMCP Meta Ads) and a contact email, then click Next.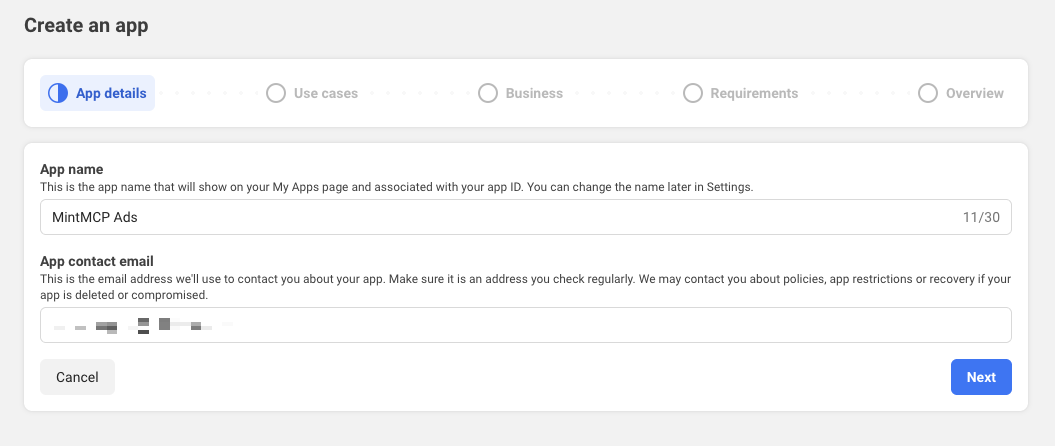
-
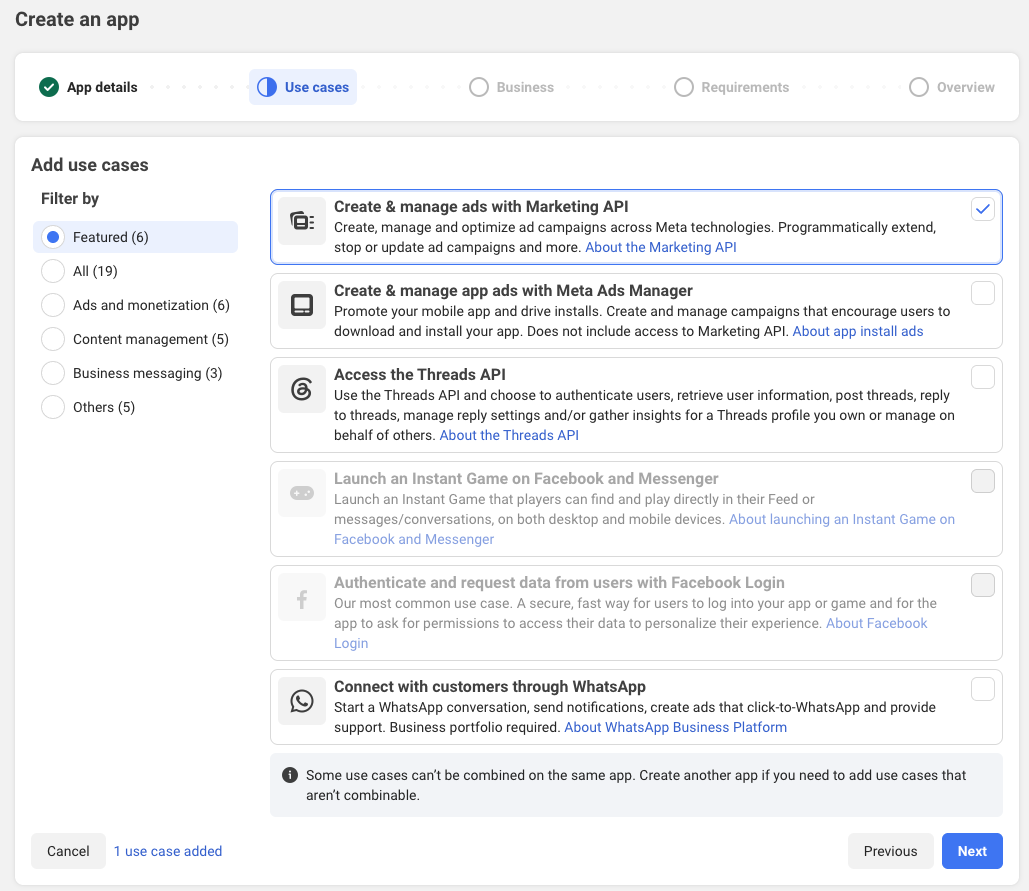
Under Use cases, select Create & manage ads with Marketing API and click Next. This adds the Marketing API and Facebook Login for Business products to the app automatically.
-
Under Business, select a Business portfolio if you have one, then continue through Requirements.
Associate a Business portfolioA portfolio unlocks the System-user access token, which gives the connector continuous access to business assets — ad accounts and Pages — without the ~60-day expiry of user tokens, so a shared MintMCP connector doesn't force every user to re-authorize every two months. Add the app to a portfolio at business.facebook.com before creating the Login configuration; without one, only User access tokens are available and the System-user option stays locked.
-
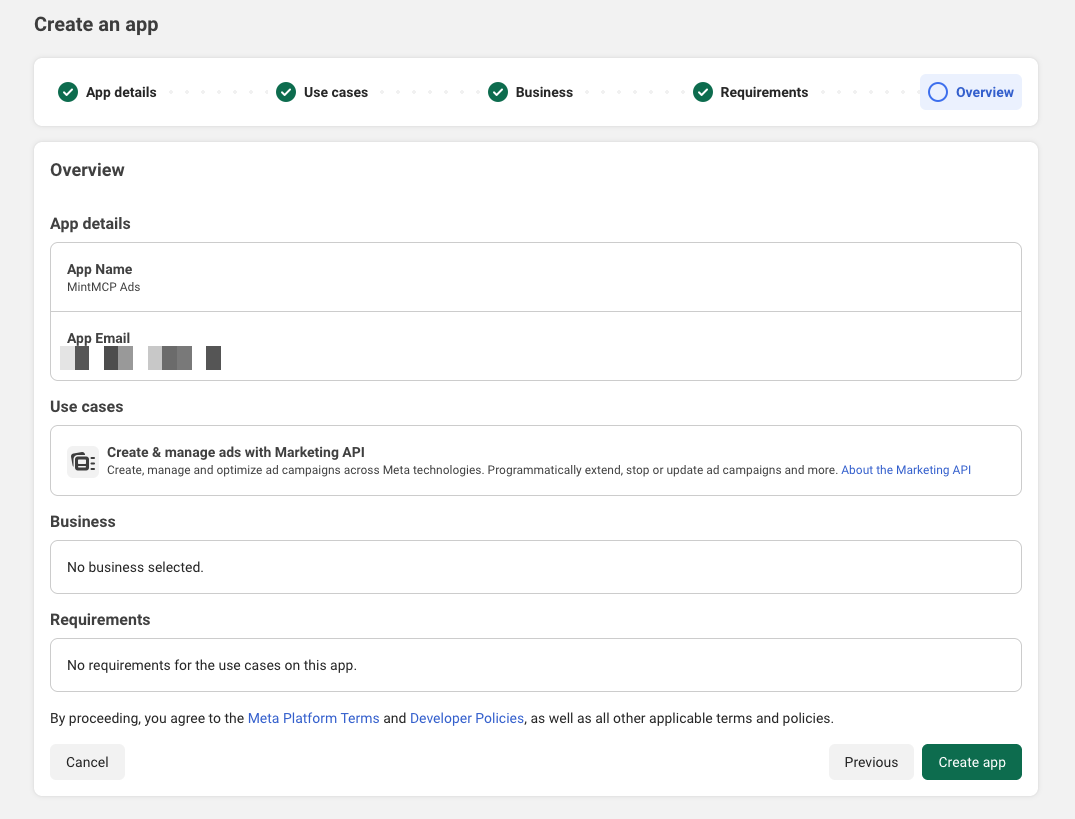
On the Overview step, confirm the details and click Create app.
Configure Facebook Login for Business
-
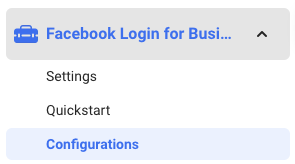
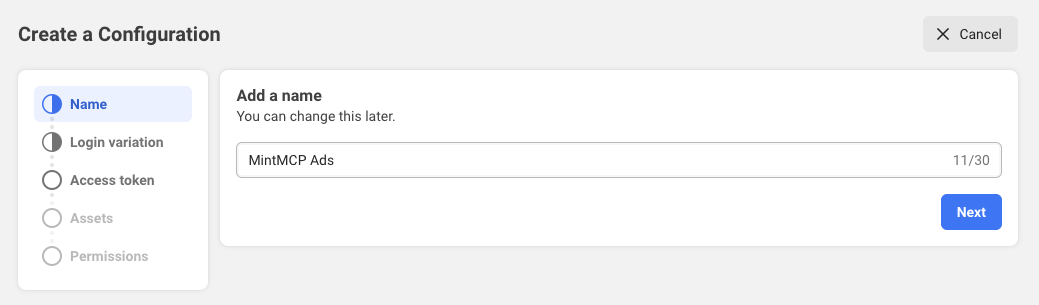
In the left sidebar, go to Facebook Login for Business → Configurations, then click Create configuration.
-
Under Name, give the configuration a name and click Next.
-
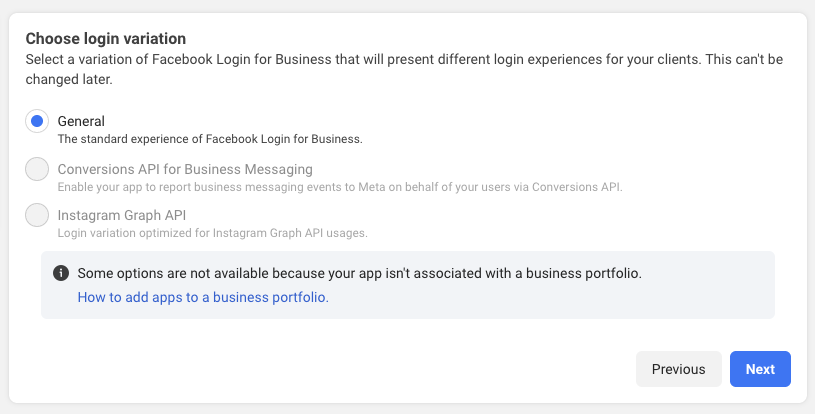
Under Login variation, choose General and click Next. The other variations require a Business portfolio.
-
Under Access token, choose User access token — or System-user access token if you associated the app with a Business portfolio (recommended for continuous access). Click Next.

-
Click Next through Assets (asset selection needs a Business portfolio).
-
Under Permissions, select
ads_management,ads_read,business_management, andpages_show_list, then finish creating the configuration.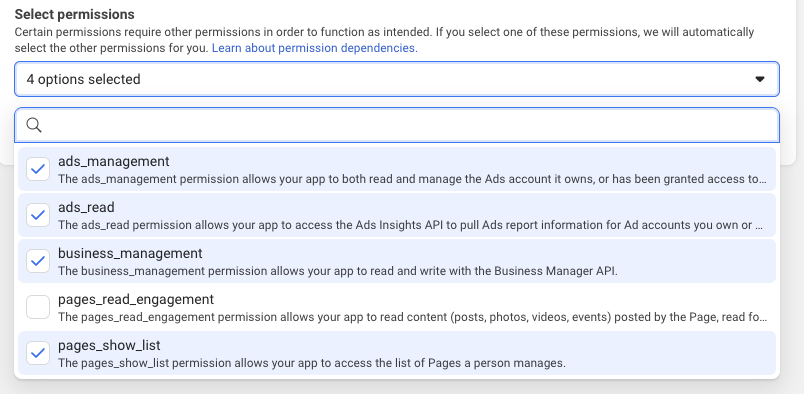
In development mode, only users with a role on the app (admins, developers, or testers) can authorize. To let arbitrary employees connect, set the app to Live mode — but ads_management and business_management scopes require Advanced Access, which means passing Meta App Review before going live.
Configure the redirect URI
-
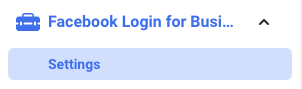
In the left sidebar, go to Facebook Login for Business → Settings.
-
Under Valid OAuth Redirect URIs, add:
https://app.mintmcp.com/oauth/callback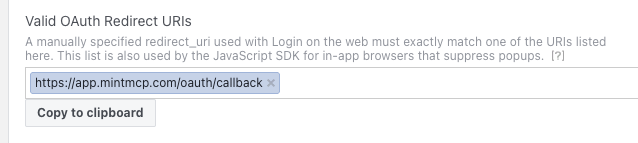
The exact callback URL also appears in the connector's OAuth settings inside MintMCP after you install it — confirm they match.
-
Click Save Changes.
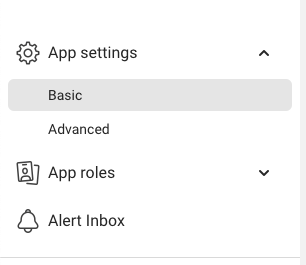
Copy the App ID and App Secret
-
In the left sidebar, go to App settings → Basic.
-
Copy the App ID. This is your Client ID in MintMCP.
-
Click Show next to App secret, confirm your password if prompted, and copy the secret. This is your Client Secret in MintMCP.

Add Meta Ads to MintMCP
-
In MintMCP, go to MCP store → Manage store.
-
Find the Meta Ads connector and click to install it.
-
Open the connector's OAuth settings and enter:
Setting Value Authorization URL https://www.facebook.com/v23.0/dialog/oauthToken URL https://graph.facebook.com/v23.0/oauth/access_tokenScope ads_read,ads_management,business_management,pages_show_listClient ID App ID from App settings → Basic Client Secret App Secret from App settings → Basic -
Confirm the Redirect URL shown in the connector's OAuth settings matches the URI you added under Valid OAuth Redirect URIs (
https://app.mintmcp.com/oauth/callback). They must be identical, or sign-in fails. -
Click Save.
The first time a user calls a tool, MintMCP directs them to sign in with Facebook and consent to the requested scopes, then stores their token for subsequent calls.
Meta does not issue refresh tokens. With a user access token, the connector exchanges the initial OAuth grant for a long-lived user token (~60 days) via Meta's fb_exchange_token flow, and users must re-authorize by reconnecting once it expires. A system-user access token — available when the app belongs to a Business portfolio — does not expire, so it avoids the recurring re-authorization for a shared connector.
Security considerations
- Each user authorizes with their own Meta account, so tool calls run against that user's ad account permissions and are tied to their identity.
- The App Secret is an org-wide credential — anyone with it can initiate OAuth flows as your app. Keep it out of version control and restrict who can view it in MintMCP.
- All write tools (create campaign, create ad set, create ad) default new objects to PAUSED status. The AI cannot start ad spend without an explicit activation step from the user.
- The
ads_managementandbusiness_managementscopes grant full read-write access to ad accounts and Business Manager data. Grant this connector only to users who need that level of access. - In development mode, only users with a role on the Meta app can authorize. Granting access to all employees requires the app to be in Live mode with Advanced Access approved by Meta.
Next steps
- Tool customization — Control which Meta Ads tools are exposed to users
- MCP gateway administration — Manage access and permissions